

We’ll get into more detail about the steps of wiring and finalizing the Cube Pro printer in this section. A lot of questions were asked and we’ll do our best to clarify what’s not clear with the previous blog parts.
You can read the previous blog parts here:
Detailed wiring
Refer to the following link for a detailed step-by-step guide for wiring the Duet Wifi: https://duet3d.dozuki.com/Guide/2.)+Wiring+your+Duet/9
Please refer to the following table for various connection information:
| Duet Output | Duet Input | Sensor | Power Circuit | Source | |
| Bed | HEATED BED | THERMISTOR0 | Thermistor built-in | SSR | AC Voltage |
| Heated environment | E1 HEATER | E1 THERMISTOR2 | 300°C thermistor | Relay | AC Voltage |
| DyzEnd | E0 HEATER | E0 THERMISTOR1 | 500° thermistor | Duet Mosfets | DC Voltage |
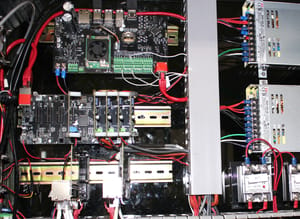
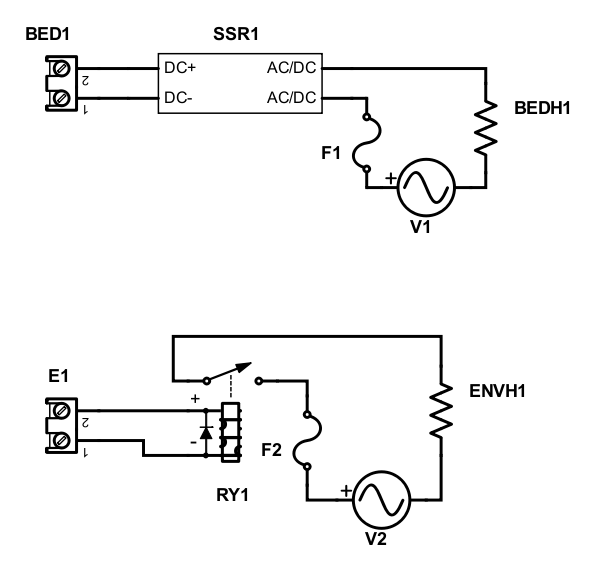
Here is a diagram for connecting the AC voltage to the bed heater and chamber heater:
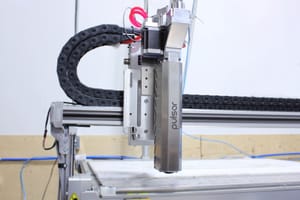
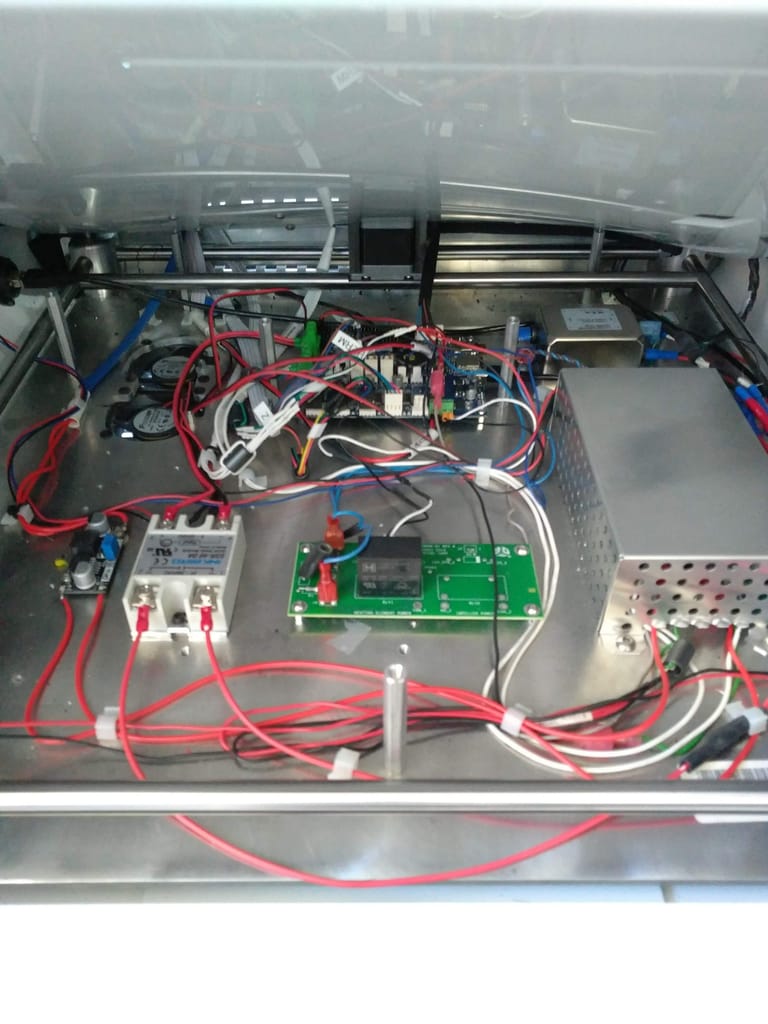
Here is our final wiring once everything is done:
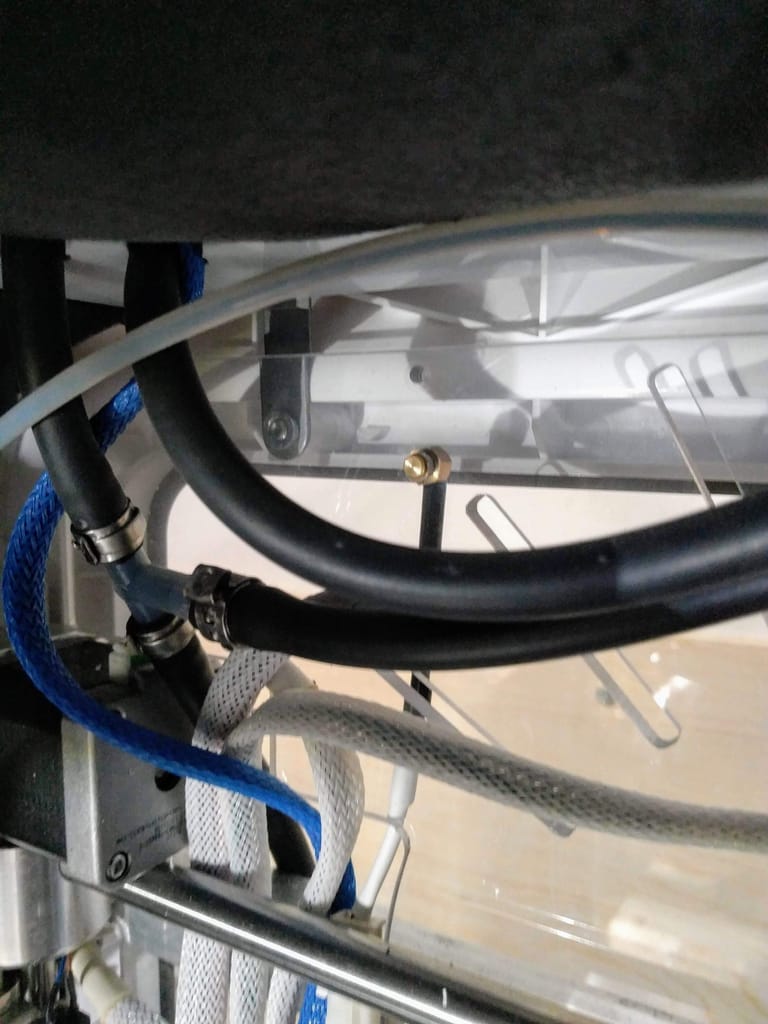
Environment sensor
We used our M5 threaded sensor for monitoring the environment. It’s a 100K NTC thermistor. We drilled a hole in the acrylic and threaded it.
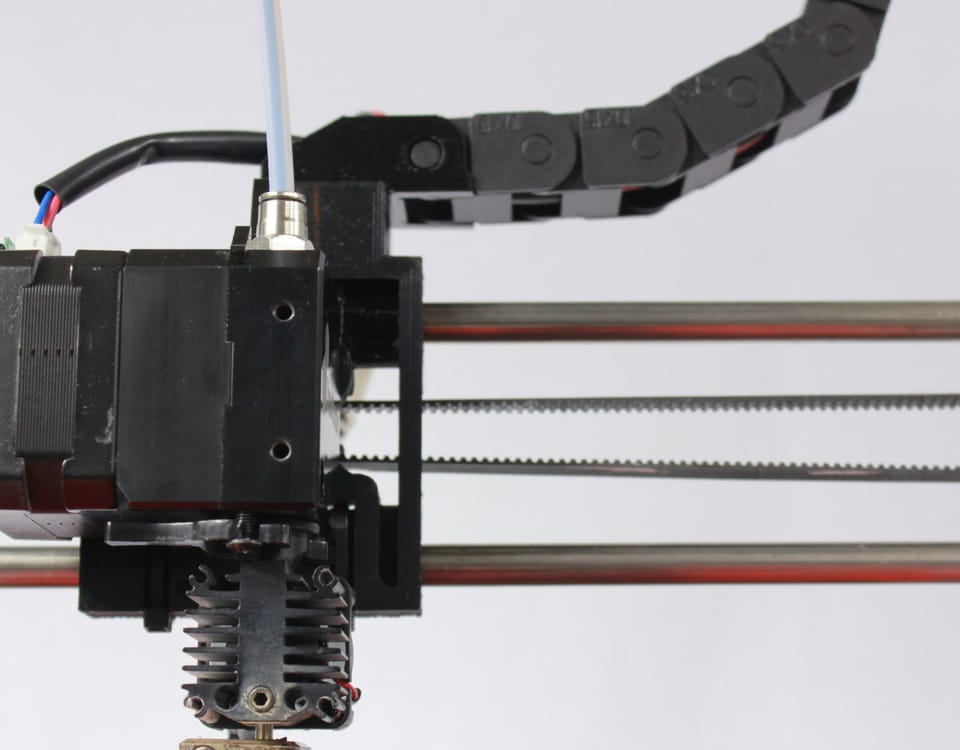
Cables
For most cables, we did our best to use the stock cables. For most of them, we changed the connectors so they can fit with the Duet.
Conclusion
We will continue to edit this particular blog section with further clarifications if need be.
Also, feel free to send us some pictures of your own Cube Pro conversion, we will share them!