Why would you need liquid cooling? How is it any good? Why not use a Peltier cooler?
We released our first liquid cooling solution back in 2015 for our DyzeXtruder and Dyzend. We wanted to offer a solution that would ensure reliable behaviour under a hot environment and water cooling did an amazing job. As you’ll read below, we managed to get a lower system temperature in a hot environment using liquid cooling compared to an air-cooled unit at room temperature, quite impressive indeed!
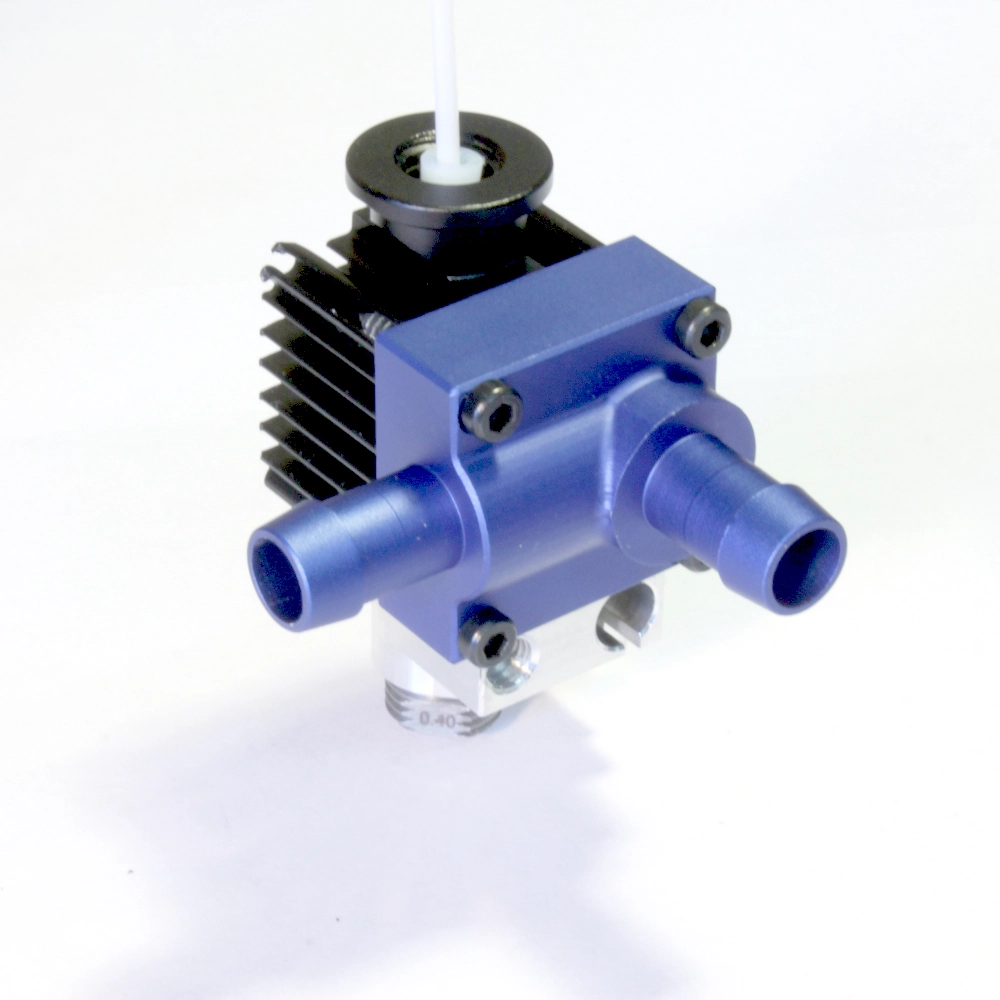
With the recent beta release of our high flow products only available with liquid cooling, we’ve been quite challenged with this decision and wanted to write about how we ended up designing them this way.
The reasons behind liquid cooling
We get these questions a lot: “why liquid cooling?”, “isn’t it over-designed?” Well, it’s an effective solution to many limitations in 3D printing, as listed below.
High Temperature Environment
Filaments such as PEI, PEEK, PSU and other engineering grade polymers require a heated environment temperature up to 210 °C, and sometimes even hotter. Due to patent infringement, machine manufacturers need to place all the extrusion systems inside the heated environment. Both the motor, the fan, and a few other critical parts are heated.
Stepper motors have insulation classes according to their insulation materials and maximum rating. The most common class is B and the maximum temperature is 130 °C. Class F can handle 155 °C and class H goes up to 180 °C. However, you can’t run a motor at its maximum rated temperature, you need to consider a temperature rise when the motor is running.

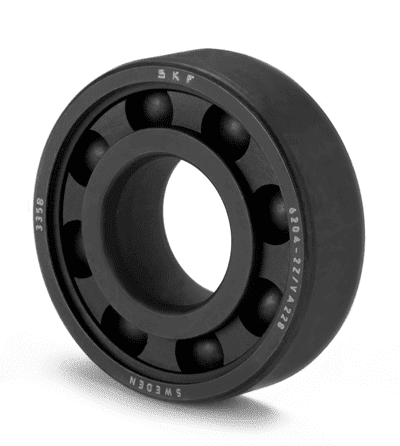
Still, even if the motor can handle high temperature, there are other concerns. All the gears, bearings and other rotary elements will greatly see their lifespan reduced. Not all grease, alloys and surface coatings are designed for handling constant high-temperature.
If you look for a high temperature fan, you’ll be surprised that most of them can’t go over 85°C. At $75 for a single fan, alternative solutions start getting interesting.

High-power requirements
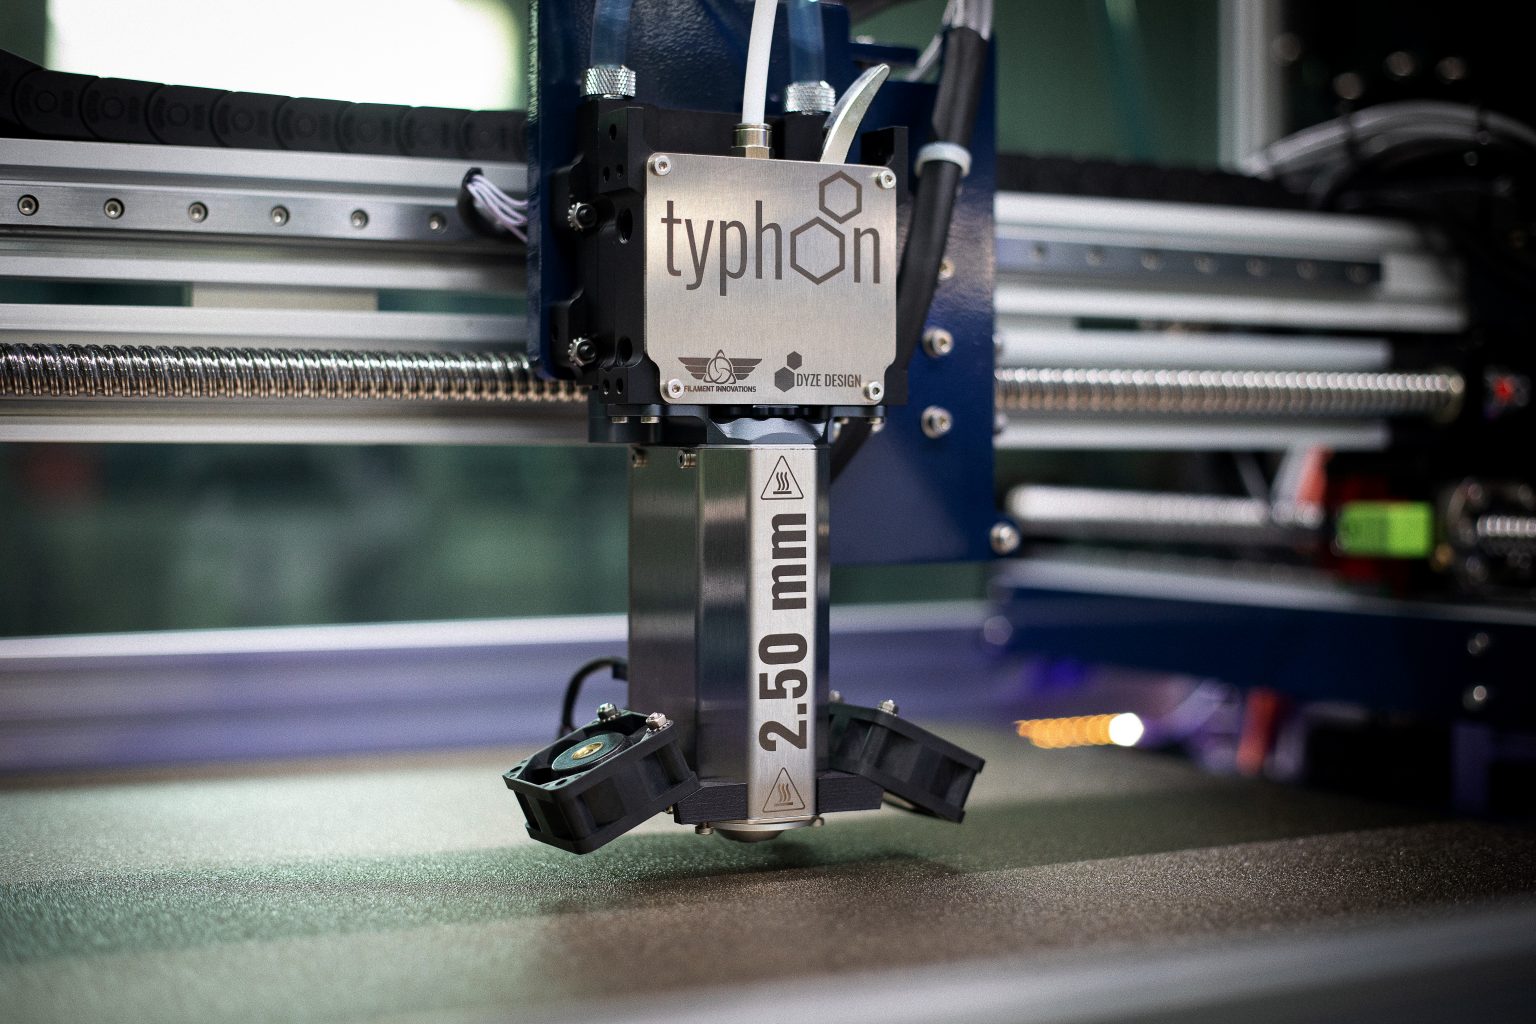
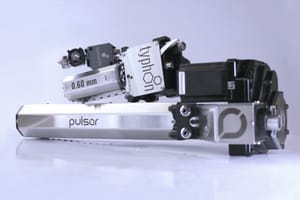
With the new Typhoon having 400 W of heating power and the Pulsar having twice as much, standard fin heat sink are becoming a bottleneck. Even with a very low thermal conductivity heatbreak, quite a lot of heating power gets to the cold section.
Let’s consider the Typhoon, where 40 Watts of power needs to be dissipated from both the motor and conduction in the heat break. If we want to keep the Typhoon temperature up to a maximum of 20 °C over the ambient, we’ll need quite a large heat sink.
By looking at Advanced Thermal Solutions datasheet for extruded profiles. Let’s consider a 50 mm (2 inches) length to match the Typhoon, we need a thermal resistance of about 1 °C/Watts. The smallest heat sink available is the ATS-EXL77 with 1.0 °C/W. This heatsink is 120 mm wide, more than twice the Typhoon itself. Other fins get very thick and more space is required, not including the added fan space.

Cooling efficiency: Air vs. Water
Comparing two 120 mm × 120 mm heatsinks and radiators, you’ll see that the heatsink can dissipate about 5 W/°C while a radiator can dissipate 22 W/°C. Using a radiator is not only more effective, it allows you to move the exchange unit away from the heat source. By using water as a heat carrier, the radiators can be mounted outside the 3D printer, in a different environment, increasing even further the heat transfer efficiency between the liquid and the air.
Reliability
If you ever checked for maximum rated temperature for most components such as electric devices like motors and fans, you’ll probably see temperatures under 70 °C are achievable according to the datasheet. However, the « mean time between failures » (MTBF) is greatly reduced at higher temperatures. For example, take a look at the Sanyo fans datasheet. At 40 °C, the MTBF is around 70k hours. It goes down to 40k at 60 °C, only 20 °C hotter.
Peltier “coolers”
We got this suggestion quite often:
“Why not use a Peltier cooler rather than a liquid cooling system? You could use the heat from the cooler to heat the environment and cool the hotend at the same time!”
It might sound like a nice idea (actually it’s not). Let’s dig into more details.

How it actually works
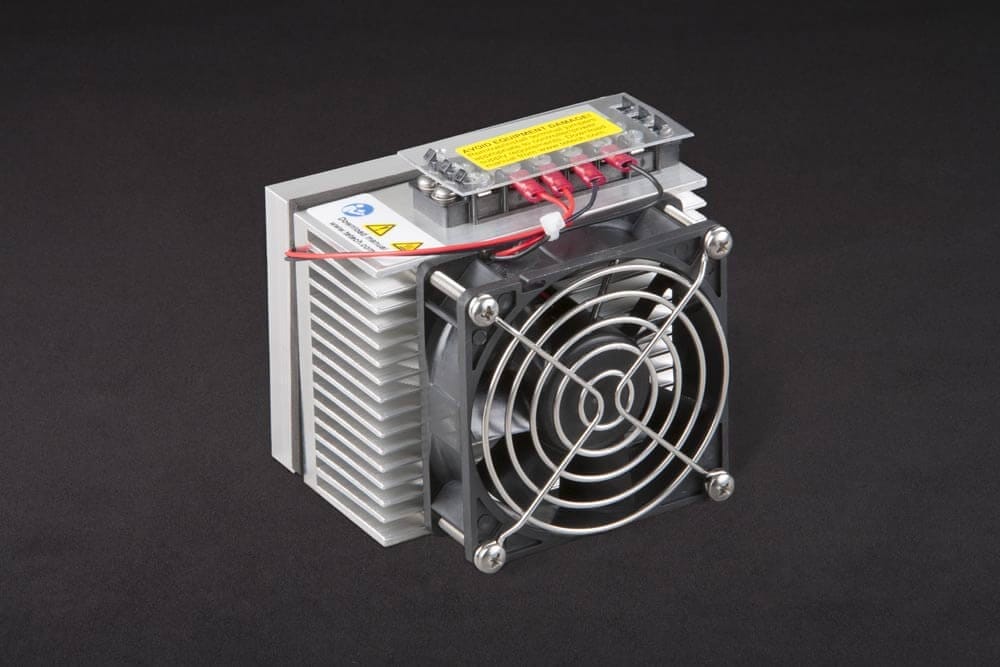
The Peltier Effect was discovered in 1834 and consists of running a current between a thermocouple (two different metals). Heat is transferred from one junction to another. It creates a cold side and a hot side.
Keep in mind that this effect doesn’t actually “cool”, it only moves heat from one side to the other, and the efficiency is actually not that great.
To understand the efficiency concept better, let’s take a look at the Coefficient of Performance below:

If we take the example from above, with a 40 Watts to dissipate, and a maximum of 20 °C from ambient, we need to take a look at the grey curve corresponding to a ðT of 20 K (= 20 °C). The optimal point is at 30% current and has a COP of around 1.20.
Using the thermoelectric plate at 30% of its current means that you need to get a plate rated at 333% from our requirements. Due to space constraints, we’ll be using our plate at its full potential, which brings us to an efficiency of 40%.
In other words, to move 40 Watts with 40% efficiency, we’ll need a thermoelectric plate of 100 Watts. 100 Watts is now the amount of power that will need to be cooled by the heatsink on the hot side. Because yes, the hot side needs to be cooled in order to keep the 20 °C we are aiming to keep.
Why It’s Not a Solution for Most Scenarios
You might already have seen it in the example from above. First, the Peltier element draws a lot of current and is not efficient, increasing the load to be dissipated.
We went from 40 W to dissipate to 100 W just to keep our extrusion system at room temperature. The heatsink will need to be more than twice the size than it was before.
We still need a fan, as the heatsink can’t cool that amount of power using natural convection.
As the Peltier will heat the environment, it won’t be able to keep the extrusion system at the right temperature, as the delta temperature will need to increase proportionally.
The possible case
The use of Peltier would be interesting if we need to keep the extrusion system (and probably the filament) to a lower temperature than the ambient. At that point, the hot side will probably be cooled using a liquid-cooled plate anyway to match the power requirements.
The Myths Behind Liquid Cooling
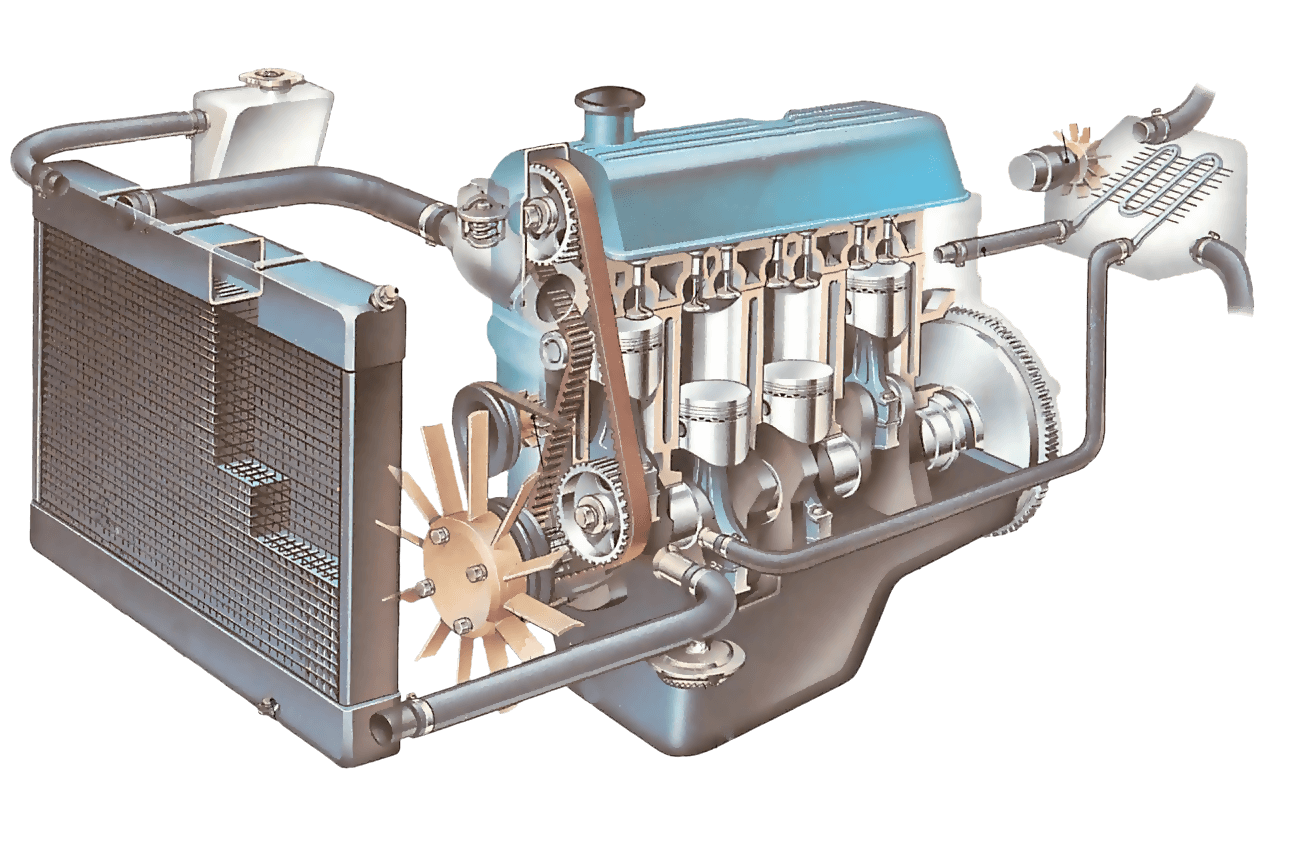
Many are sceptical about adding a liquid cooling to their machine. We’ll go through all the concerns we’ve heard and see what the facts are. Keep in mind that liquid cooling is used in more devices than you might think. Think about your car motor, big server rooms, laser devices, lightning, and many other high-power devices; they all use liquid cooling as their cooling solution.
Added weight
Keeping the carriage weight is critical for acceleration performance and print quality. We’ve heard that the added weight will be a big problem for printers, leading to decreased printer performance. The water weight is also a concern to many, being inside the tubing and heavy to move.
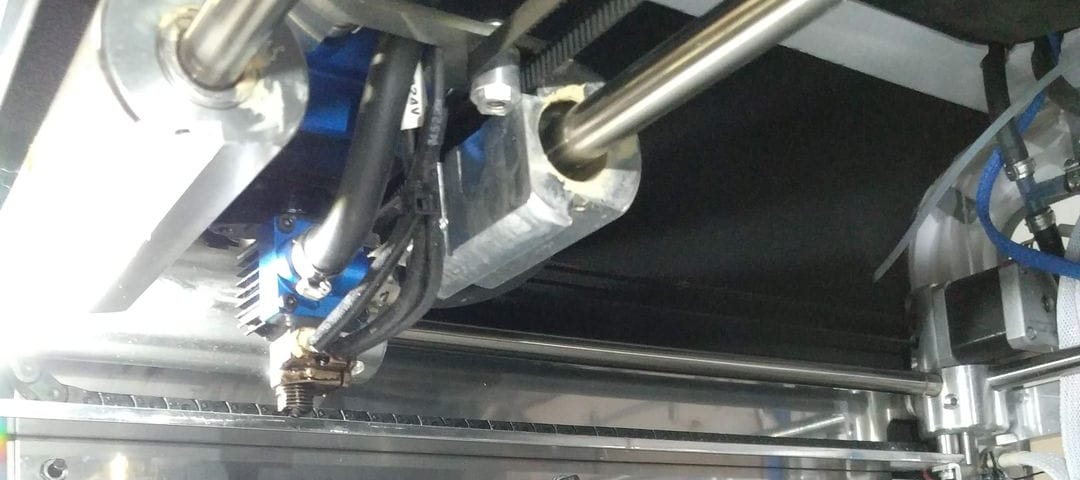
Well, in theory, it’s not false. However, if we take a deeper look, the hotend liquid cooling blocks weigh 20 grams, including the fittings and the plug. The fan weighs 8 grams. That’s a 12 grams increases for the hotend.
The extruder liquid cooling block is 30 grams, including all the hardware.
Considering 150 mm of tubing being actually moved by the carriage, and filling all the block with water sums up to 6 grams of water.
A carriage with the extruder, hotend, bearing, fans, shroud, and other accessories will usually weigh more than 500 grams, sometimes more than 750 grams with blocks for linear rails and metal mounting plate. Adding a total of about 50 grams won’t have much effect on your print and acceleration.
Low efficiency
We’ve heard concerns about not having any fins inside the blocks, such as computer liquid cooling blocks have for the CPU, where this could lead to poor cooling performance.
Some were also sceptical about the ability of actually cooling the extruder at all.
The graph above shows a test where both hotend were heated at 485°C. That’s not all, the air cooled unit was tested at room temperature, where the liquid cooled hotend was sitting in an oven at 100°C.
As you can see, the liquid-cooled set-up, even though it’s sitting in an environment 80°C hotter than the air-cooled set-up, is running 20°C colder. That’s pretty impressive and efficient!
Risks of Leaks
It’s totally true that there is a risk of a leak. However, with a basic understanding of the requirements, it’s very easy to avoid them. Our blocks are designed to use o’ring fittings rather than taper threads, which is a lot more reliable and leak-free.
The cooling kits are packed with tube crimps, offering a reliable securing method between the tube and the barbs. The crimps we have chosen will wrap the tube evenly, all around the circumference.
With the very flexible, high-temperature tubing we are using, the stress on the barb is minimal. Especially if the tubing is secured in a cable chain, there is barely any movement between the barb and the tubing. This leads to a very stable and reliable liquid cooling loop.
Moreover, Dyze Design has been working on a compression fitting design, one of the safest ways to ensure a leak-free operation.
Improving insulation
We’ve been told to improve the insulation using ceramics rather than use liquid cooling. For our application, we need to use a special ceramic where manufacturers are actually able to machine it.
The main problem with ceramics is their brittleness. Since the extrusion system is subject to frequent collision with the printed part, it’s very dangerous to use a brittle material like ceramic.
Ceramics are indeed very good thermal and electrical insulators. However, most of them are better thermal conductors than titanium. For example, Silicon Nitride and Aluminum Oxides have higher thermal conductivity. The only viable option would be zirconia.
An original design from “2 engineers” brought a ceramic hotend to the market. Unfortunately, due to manufacturing limitations, the ceramic base couldn’t be optimal and this hotend would conduct too much heat towards the top “cold” section.
Water Boiling
Some were sceptical about the fact that water would be boiling if ran into a chamber hotter than 100°C. While it is true that water boils at 100°C, a continuous flow of water within a few metres of tubing inside a heated environment won’t get to 100°C.
When properly set-up, the water will be running as soon as the machine starts. This ensures that all the cooled components will be kept at a stable temperature at all times.
The Hardware You Can Get
As mentioned earlier, liquid cooling is used in many different applications which makes cooling systems widely available and easy to get. Some options cost less, others are easier to work with, some are more reliable, we’ll help you find the optimal solution.
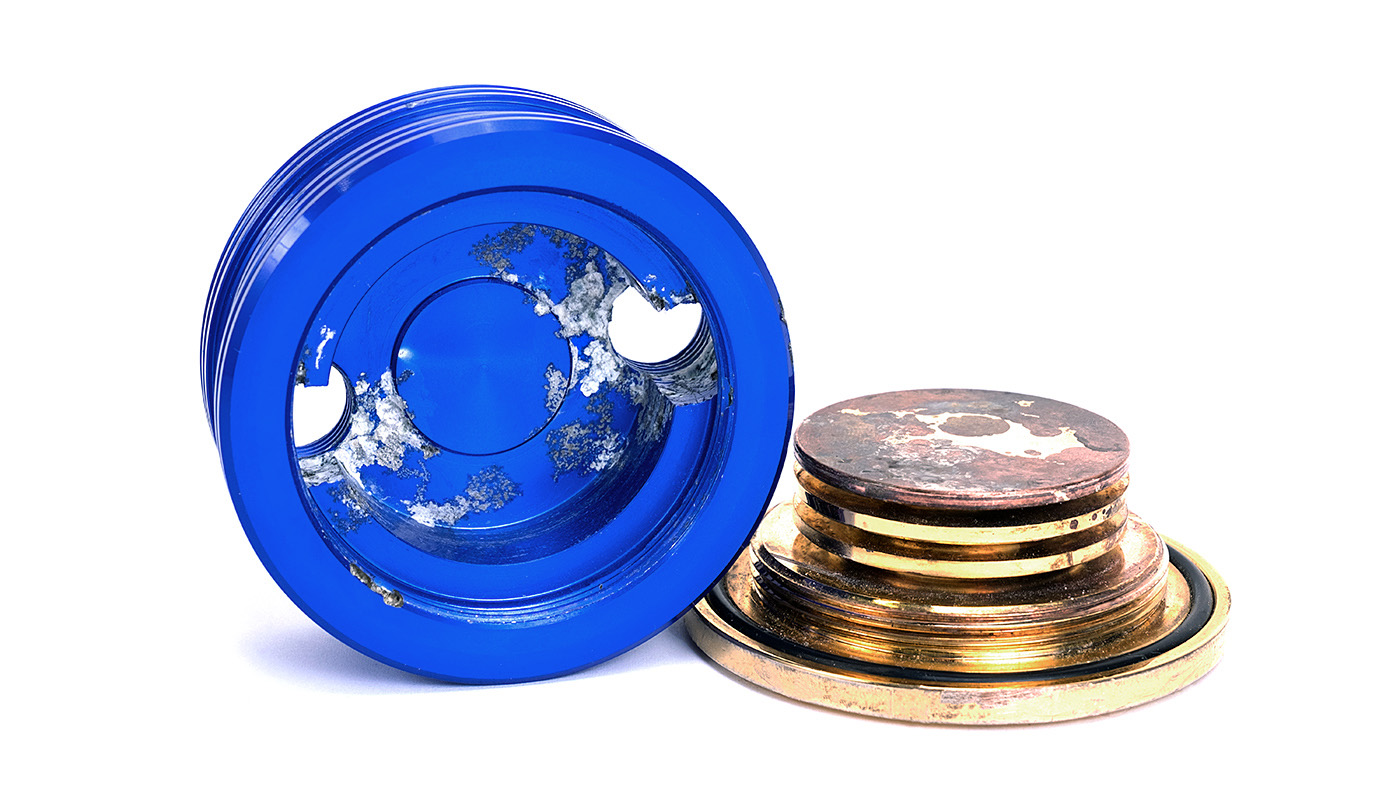
Care must be taken when choosing a cooling system. Over all problems that might occur, galvanic corrosion is without any doubt the biggest concern you should have. In short, don’t mix metals when liquid is involved and use proper liquids and additives to protect your systems. Our liquid cooling solution is made from aluminum, and we do our best to add corrosion resistant coatings, such as nickel plating. When building your system, choose aluminum radiators over brass radiators as the risk of corrosion will be greatly reduced.
Computer All-in-one
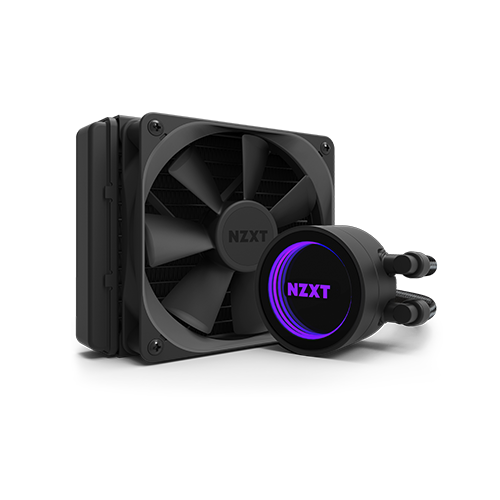
Computer all-in-one are usually designed to replace a standard heatsink for a CPU. They can be found as low as $50 for a single fan radiator. The strength of this solution is the low price, and the fact that everything is included.
However, filling it will be painful and tedious (we talk from experience). Since there is no reservoir, it takes a lot of patience to get it filled right.
Also, you’ll need to modify it as you’ll need to reroute the tubing.
Note that the copper plate won’t have any use in our application, we’ll simply use the pump mounted over it.
Below is a list of brands and models:
- Thermaltake Water
- DEEPCOOL Gammaxx
- CORSAIR HYDRO
- NZXT Kraken
Customized loop
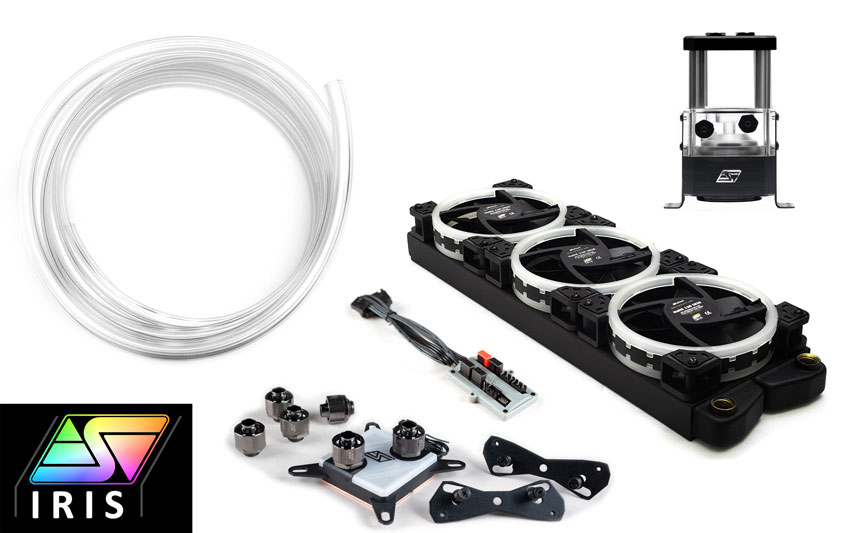
A customized loop is a very interesting solution if you are willing to invest more time into design. Customized simply means you’ll be getting each part one by one, and you’ll be building the loop on your own.
It’s a very good choice if you are looking for an optimal solution, minimal space and excellent reliability.
Here is a short list of what’s required:
- Pump
- Reservoir
- Radiator
- Fittings
- Tubing
- Liquid and additive
The downside of this solution is that you’ll need to get a bit of knowledge and make sure all the parts will fit together. One of the simplest solutions is to get computer liquid cooling parts. There are a few reasons it’s easier this way:
- Parts work in 12 V
- Fitting threads are G1/4 (BSPP ¼) and have an o-ring for proper seal
- Parts are very reliable and the MTBF is usually higher than 20k hours
- Parts are very widely available and easy to get
Here is a list computer cooling parts you should be looking:
- Swiftech
- Koolance
- EK
- AlphaCool
Coolers
Coolers are available for both industrial usage and computer usage. Both works using very similar components.
The most common model is the CW3000 “chiller”. Usually, a chiller will use either a Peltier element or a phase change system to pump the heat out, where a cooler will use a passive heat exchange system such as a radiator. The CW3000 branding is misleading, as the inside is simply a set of pipes cooled by a fan, not even a radiator.
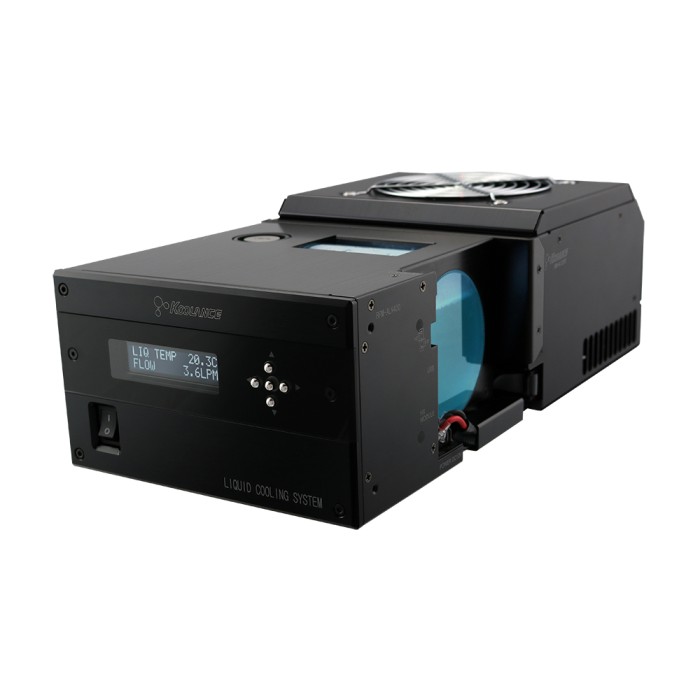
Koolance offers a wide range of coolers, and the ALX-750-P400 is probably one of the most interesting for our application.
Dyze Design high performance liquid cooling system
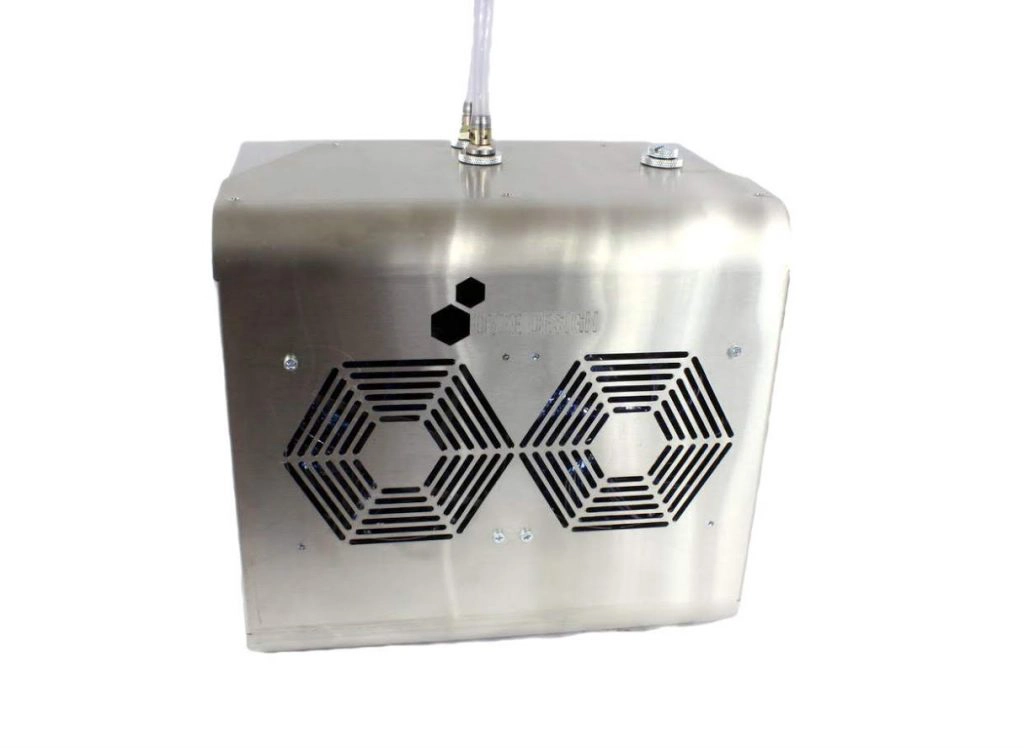
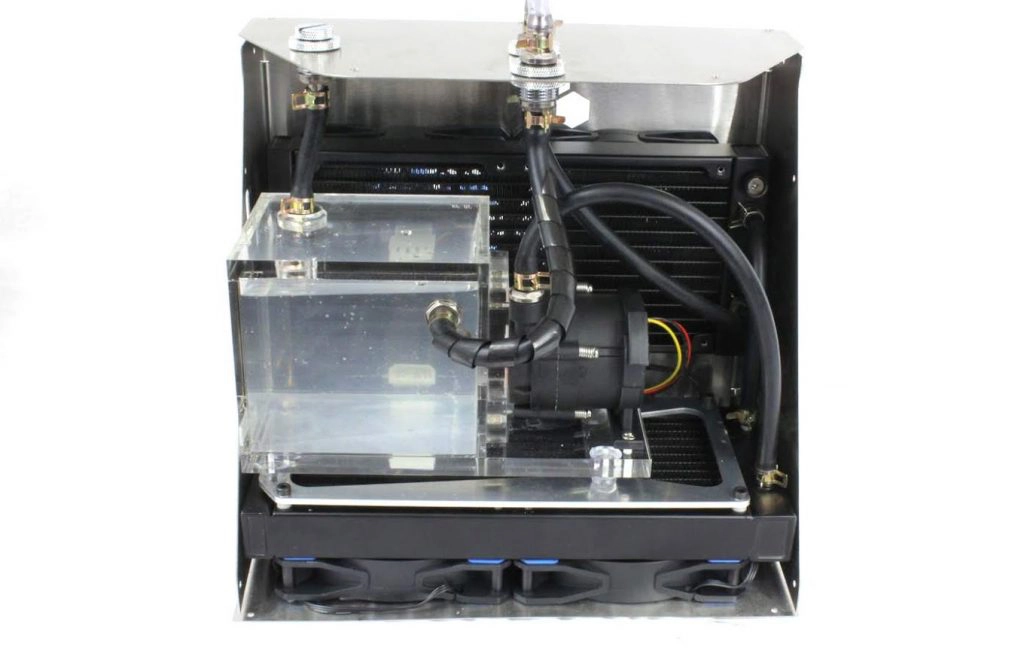
We have designed a solution to get with our industrial products such as the Typhoon and Pulsar. The unit is able to handle the heat generated from the extrusion system plus any additional motor from your printer.
The system has a powerful 1200 litre per hour pump, and two 2*120 mm radiators with a total of 4 fans. Everything is in a stainless steel housing.
If you are getting a high flow extrusion system, you’d probably consider adding this kit to your order to complete the loop!
Conclusion
In this blog, we saw the available cooling solutions for 3D printing. Then we went through how fans are fine until you print at high temperature, how Peltier is a bad idea in 3D printing and how water cooling offers the best reliability and performance for high temperatures or industrial applications. If you were still not convinced, we then went through myths and limitations water cooling solutions and how to address them, and finally we concluded by looking at available cooling solutions for your needs.
As always, I hope you enjoyed reading this blog. Anything wrong or incomplete, contact me or leave a comment, I’ll be happy to rectify the information.

