A new generation of 3D printer heaters, spiral heaters, is expected to be used more and more in 3D printing in the coming years as they offer better control and consistency. Let’s see why spiral heaters are meant to be the next big thing by going over the history of hotends and heating cartridges.
A bit of history
3D printer hotend has come a long way. Starting with the first design from Adrian Bowyer, then to the very famous J-Head, things have changed and improved over each new generation.
NiChrome wire
If you check back in 2007, the Darwin 3D print was one of the first. Created by Adrian Bowyer, it uses the “Thermoplast Extruder”, one of the first, most effective, and simplest hotend.
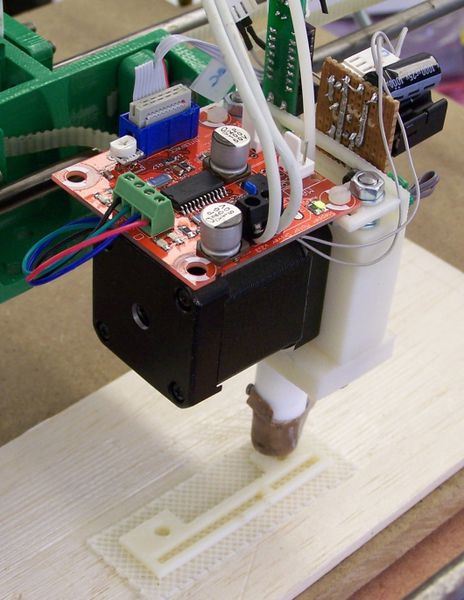
By looking at the heater section, you’ll realize that this hotend uses a NiChrome wire. It’s a resistive wire very commonly used in heating elements. It’s a very efficient and reliable solution, as the purpose of Nichrome is to heat, and its maximum operating temperature is way beyond what we use in 3D printing.

If you look closely, you can see yellow fibreglass insulation on the heating wire. Other hotends with similar designs used bare Nichrome wire. Extra care was needed as shorts with the wire could make the hotend not usable. More insulating and planning was required with bare wire.
The High Temperature Resistor
The J-Head has been one of the most popular hotend. It’s well designed, easy to use, and performs incredibly well. It’s one of the first hotend to use PEEK as its main material. The machining complexity and number of components were kept at a minimum. The model you might have seen is the J-Head Mark V-B, with brass heater block and grooved PEEK body.

This design uses a Riedon resistor. The specs are 5.6 Ω, with a maximum dissipation of 5 W. The maximum rated temperature is 250 °C, which is good for printing most polymers. The maximum temperature right might not be well adapted for our application, however, as the data sheet suggest lowering the power to 0% at this temperature:
The big improvement of using a high temperature resistor is that you could assemble it in a few minutes, and change it in about the same amount of time if it fails. Kapton tape was most often used to hold the resistor in place, which made it simple for anybody to use.
The Heater Cartridge
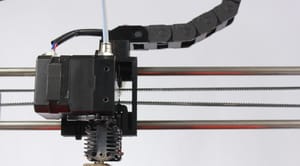
Around 2012, we started seeing more and more heater cartridges in 3D printers. For example, the delta 3D printer BerryBot3D included them with their hotend.
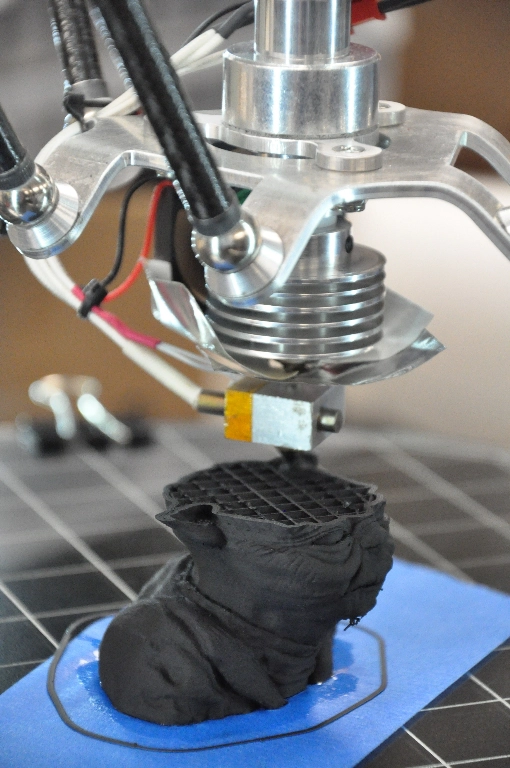
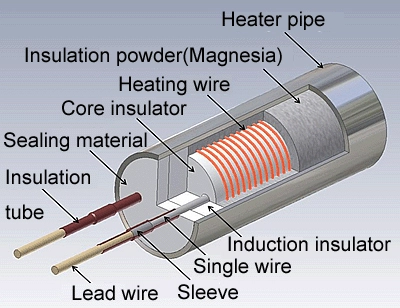
These cartridges were well adapted for the situation. The inside contains a heating wire, insulating ceramic, and the housing is in steel. It’s a self-contained heater available is roughly the same format as the heating resistor. People started swapping their J-Head resistor with this heater cartridge.
The need for improvement
All the previous had their strengths and weaknesses. But each of them was an improvement over the previous solution.
- NiChrome wire
- 👍 Designed for heating
- 👍 Powerful
- 👍 Cost effective
- 👎 Complicated to install
- 👎 Required putty
- 👎 Risk of shorts
- Resistor
- 👍 Simple to install
- 👍 Cost effective
- 👎 Limited in power
- 👎 Limited in durability
- Heater cartridges
- 👍 Simple to install
- 👍 Powerful
- 👎 Costly
Manufacturing challenge
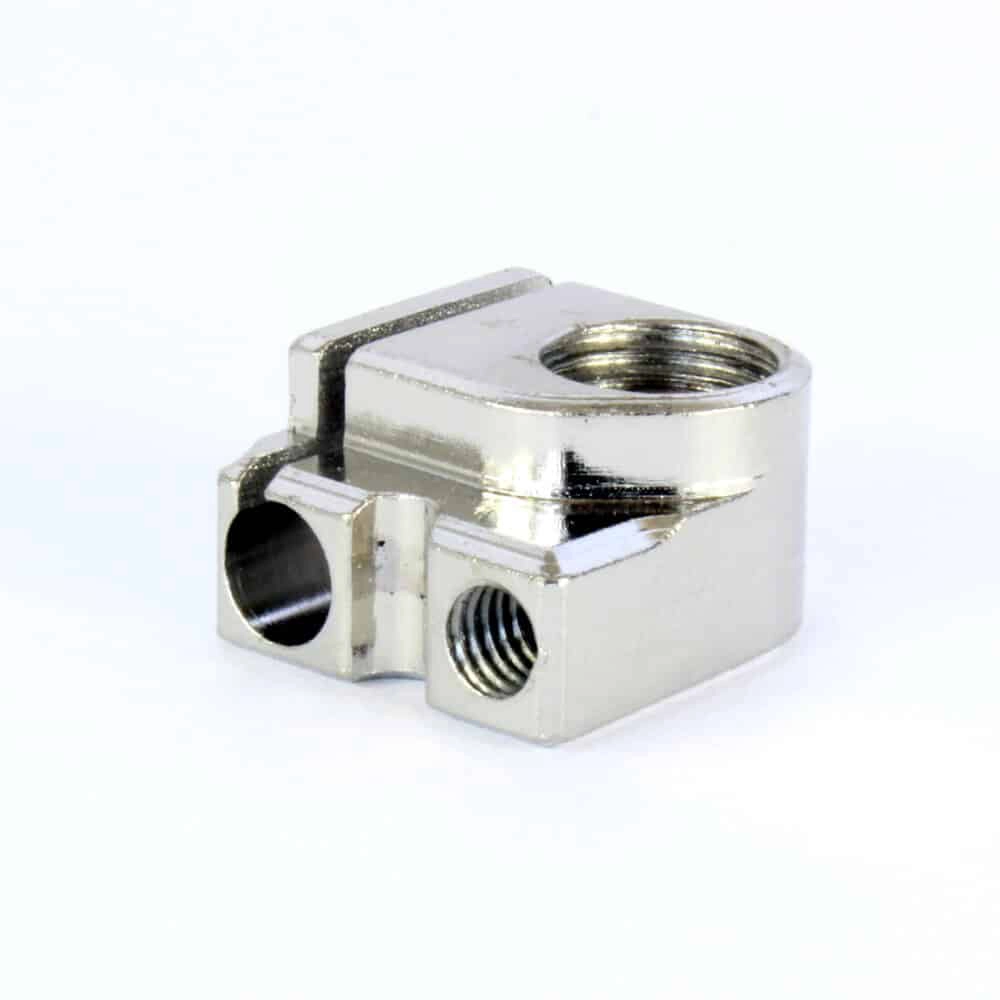
The simplicity offered by the resistor and the heater cartridge led to the heater block. The heater block is a thermally conductive piece made from aluminum, copper, brass or steel designed to transfer the heat from the heater cartridge to the nozzle, to the polymer.
We’ve seen quite a lot of different designs over the years, with the heater in either a parallel direction or perpendicular. Same for the holding methods: Slot, threads for set screw, press-fit, etc.
As you can guess, these constraints can make a simple part more and more complicated. The costs will be directly proportional to this level of complexity.
Temperature uniformity
Another weakness is the temperature uniformity. By considering the entering material as a cold material absorbing heat from the center, having a heater on the side only is suboptimal. The further you’ll get away from the heater, the colder it will be. Consider a quick analysis with the following parameters:
- input polymer (PET) at 35 °C at 5 mm3/s
- 20W heater
- 5 mm/s wind in one direction (like if the head was printing slowly)
Adjusting the temperature graph from 245 °C to 255 °C, you can see how the top region, the right section away from the heater, and the nozzle are much colder than the heater.
The new solution
Temperature uniformity is critical for printing accurately. Printing too hot, the polymer will degrade, printing too cold, the filament might be very hard to extrude. Having a 10 °C gradient over a small 15 mm melted length can be problematic. This temperature gap will increase a lot more over high temperature polymers such as PEI and PEEK.
Cylindrical Melting Zone
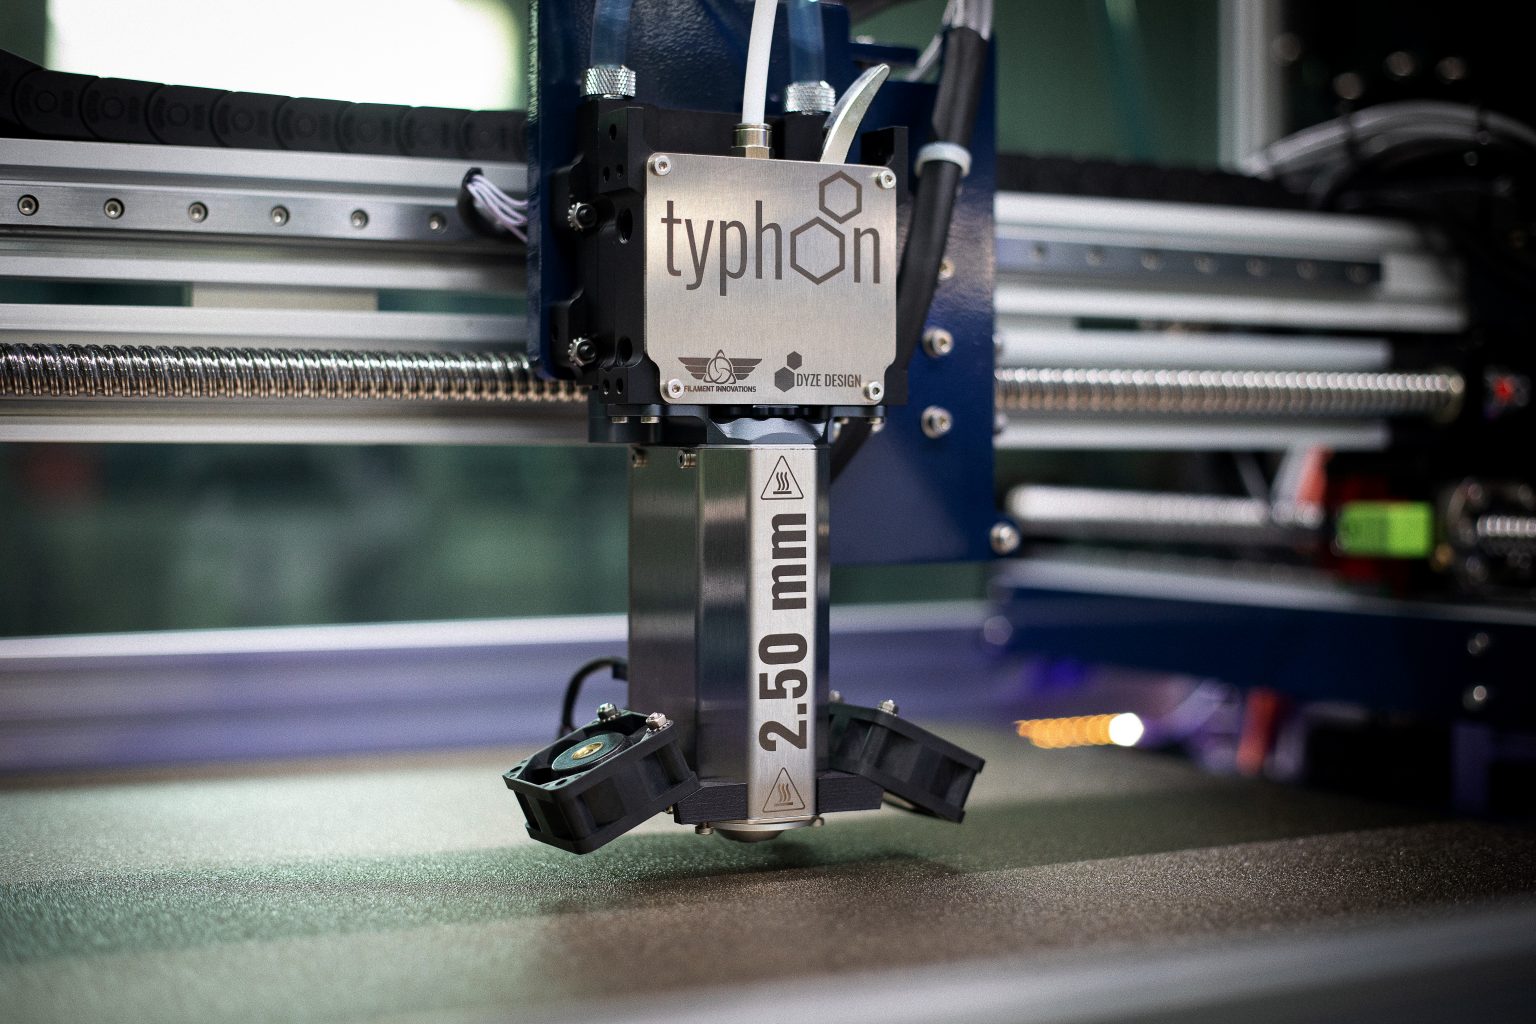
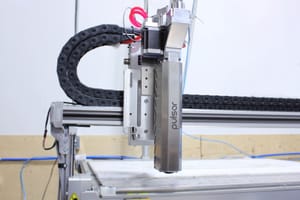
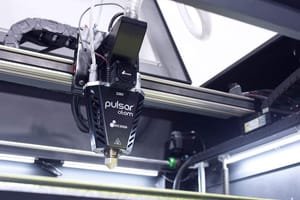
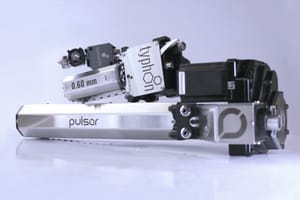
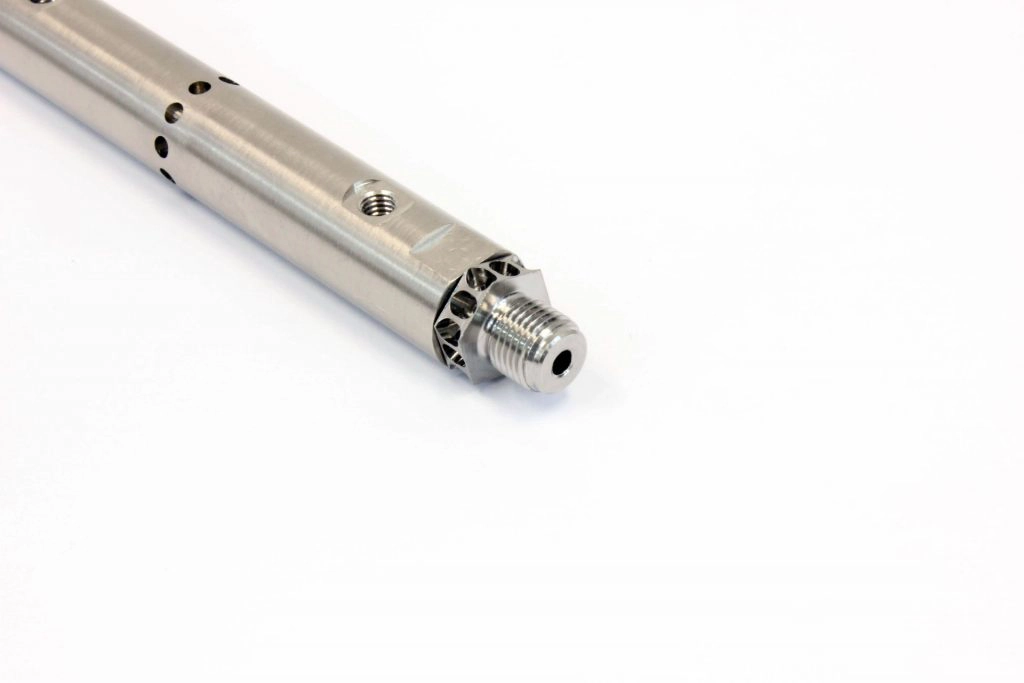
Since the development of our new high flow extruder (Typhoon) and our pellet extruder (Pulsar), we decided to shift our new design toward a more logical melting zone shape. Since the polymer follows a round hole, why not make the heated block a heated cylinder? By using this design, the heat travels naturally toward the center, when the filament absorbs it. The distance between the heater and the polymer is always the same, ensuring maximum uniformity across the melting length.
Spiral heater
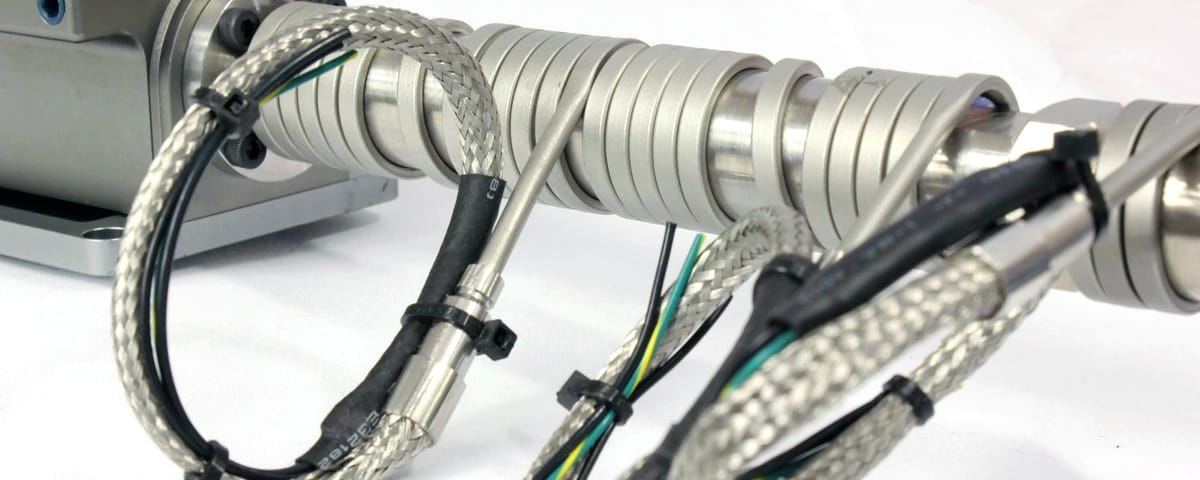
The cylindrical melting zone also requires a new type of heater. Luckily for us, there are plenty of options for high temperature tube heating.
We ended up choosing the spiral heater type. It’s simple to customize, which allows us to choose the optimal shape and form factor for our application. By choosing the right number of turns, spacing, and power density, we managed to optimize the heater to get an even heating region through our long melting zones.
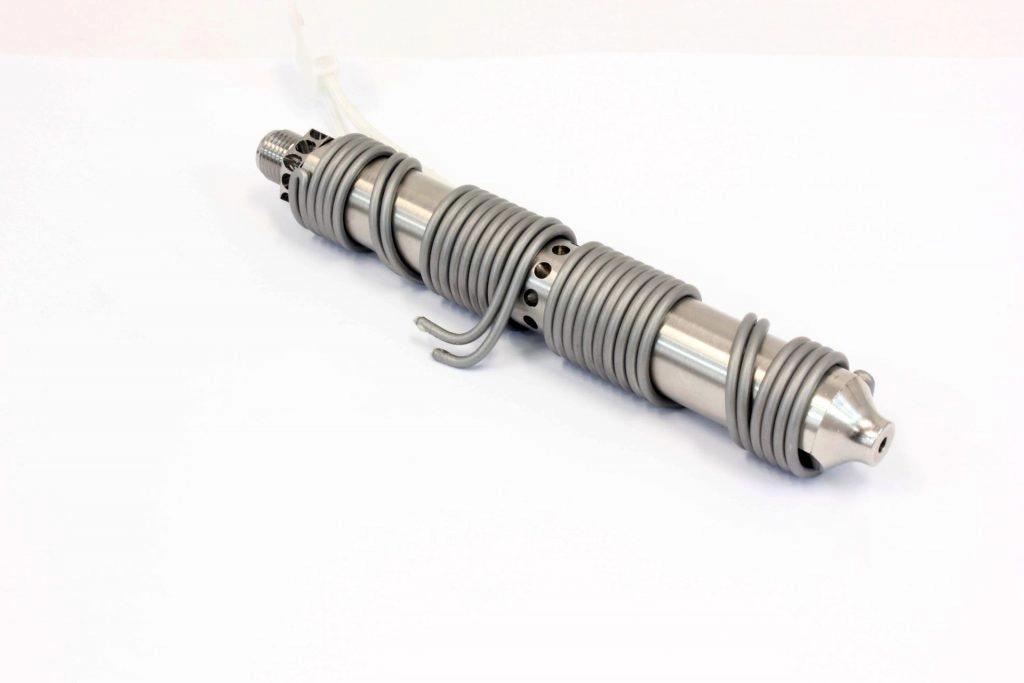
Multiple heaters
The extra long melting zone required for high flow has some new challenges. As you’ve seen previously, the 10 °C delta on a 15 mm length can quickly get worse over more than 100 mm. The picture below shows a single heater acting on the body when extruding 200 mm3 of PET per hour. The temperature difference is critical, ranging from 150 °C to 250 °C.
After running optimizations, you can keep the temperature with a much narrower temperature gap, perfect for printing consistently.
In summary
We’ve seen how 3D printers have evolved over the years, from the NiChrome wire in putty to the heater cartridge. The big temperature difference through the heater blocks showed a clear need for improvement. This is where the cylindrical heaters and spiral heater come: better temperature uniformity, better power distribution, simplified machining.

