The Cube Pro is a well-known printer from 3D Systems. It was released in 2014 in 3 different versions from 1 to 3 extruders. This printer is not produced anymore, but it’s very common to come across a deal. Some stores still have it, or professional users are selling them.
4 years after its release, the Cube Pro is in a gray zone. Looking at Amazon review, you’ll find that 47% rated 5 stars, and 53% rated 1 star. For some reasons, it seems like quite a few machines have trouble working properly.
We knew this printer had excellent mechanical design and we were interested in buying one. We found a pretty good deal on a non-working unit and decided to buy it. The unit in question had one extruder removed due to malfunction. The other extruder was still in the printer, but not working anymore.
This series of blogs show how we converted this non-working Cube Pro into an amazing printer; with open source firmware, high-end components, able to print any materials, and for a fraction of the price of the original printer!
About this blog
You can use it as a guide, or as an inspiration. We’ll do our best to be as clear as possible with the different steps involved in this transformation. Here is what we’ll cover:
- The CubePro
- List of items required
- CubePro tear down
- Carriage design
- Electronics
- Assembly
- Heated bed
- Controlled environment
The process is very similar if you are planning on using a different printer. There are very few limitations to which printers can be converted and how you change the electronics.
Why all this effort?
You might ask why would you bother about all this trouble instead of buying an already working printer? You’ll realize it very soon, but there are many advantages on building and modifying your own printer.
First, you are probably buying a non-working printer and giving it a second life. You’ll learn a lot and you’ll know your machine as if you’d built it from scratch without the hassle of ordering every individual part yourself.
Second, you can decide what you want to put inside your printer. 150°C heated bed? No problem. 500°C hotend? Sure!. Touch LCD? Yes, sir! WiFi connected? Why not?. Controlled environment? You know you want it!. Swappable nozzle? Still no problem! Sky is the limit.
Third, you’ll end up “opening” your printer to the community-driven software, supports, and materials. You won’t need to order a branded spool or use the proprietary software tied with your machine. We’ll go deeper into this subject later on.
Finally, if you are looking for a high-grade machine with many features, you’ll realize that the cost might be quite high. The time you invested will end up worthing a lot once you start modifying this printer.
The CubePro
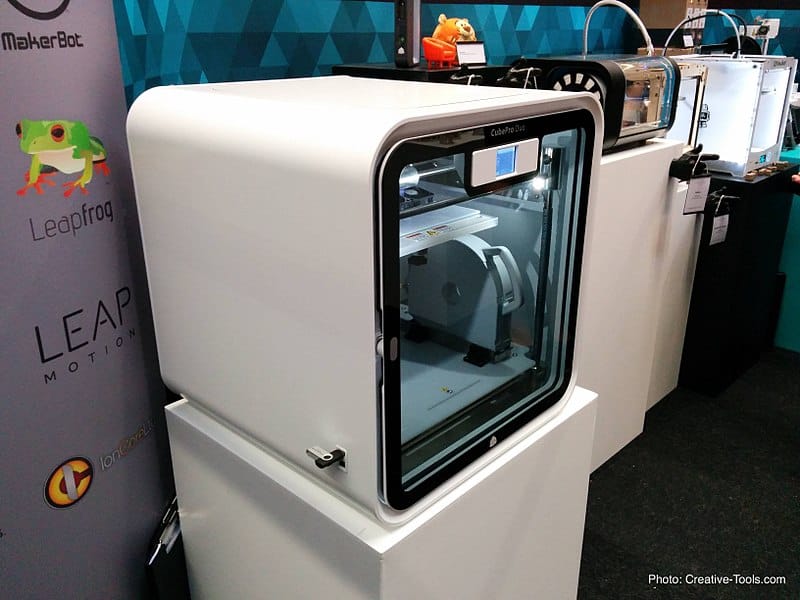
Originally from the Cubify/Cube line of consumer printers by 3D systems, the CubePro is a successor of the CubeX printer. It is a very nice looking 3D printer, thanks to the white rounded frame and simplistic design.
Features
Here are some highlights of this product:
- 24.29 x 23 x 27.04 cm build volume
- For the Duo version (the one we got), due to the multiple extruder setups, the build volume is affected by the extruders. The single version has a larger one, and the triple extruder version has a smaller volume.
- 0.10mm Z-axis resolution.
- This makes no sense, as the minimum layer thickness supported is 0.07mm, smaller than the resolution.
- 3 material options, including nylon, compostable PLA and recyclable ABS plastic.
- Maybe it was enough back in 2014, but 3 material is underwhelming nowadays. No flexible, no high temperature, no fiber reinforced, no metal powder, no wood. This is something we’ll solve when converting to open source.
- Through an upgrade kit, called the “CubePro Advanced Material”, the printer could be upgraded with flexible, wood and INF (?)
- Maximum 15mm (9/16″) per second and polymer dependent.
- I believe they meant 15mm^3. It’s not bad for a 0.40mm nozzle. However, for such a large build volume, you’ll probably want to get access to bigger nozzles to speed up the big prints. We’ll solve this.
- 280 degree C
- This sounds like a PTFE lined hotend. 280°C is a little high for long-term application. The PTFE will slightly soften and enlarge where the pressure is generated, making it progressively taper and harder to extrude. Don’t worry, once again this is something that we’ll solve.
The original hardware
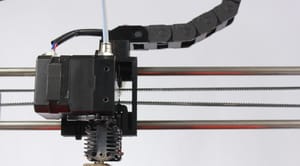
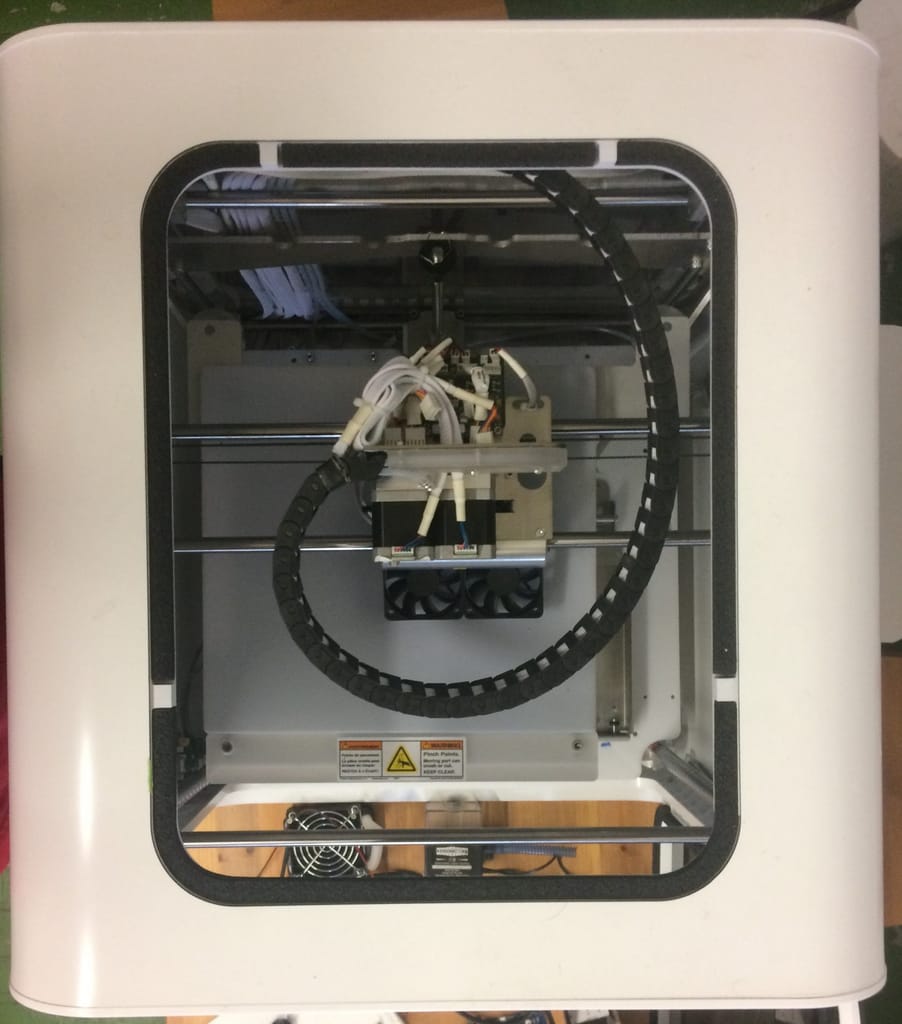
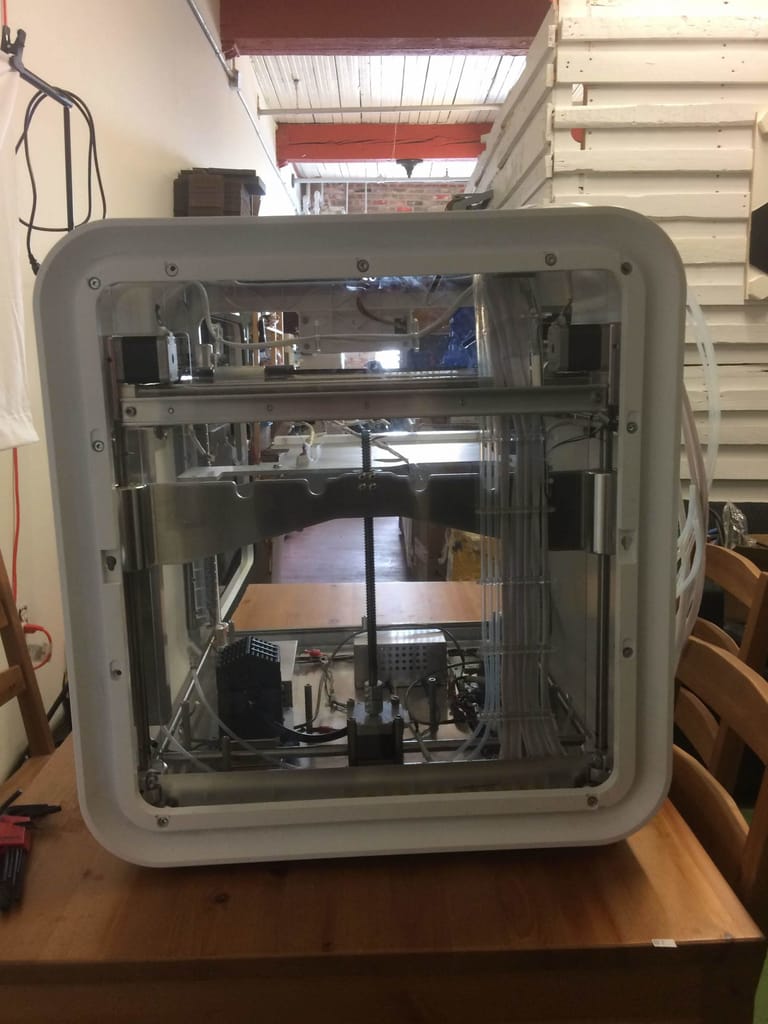
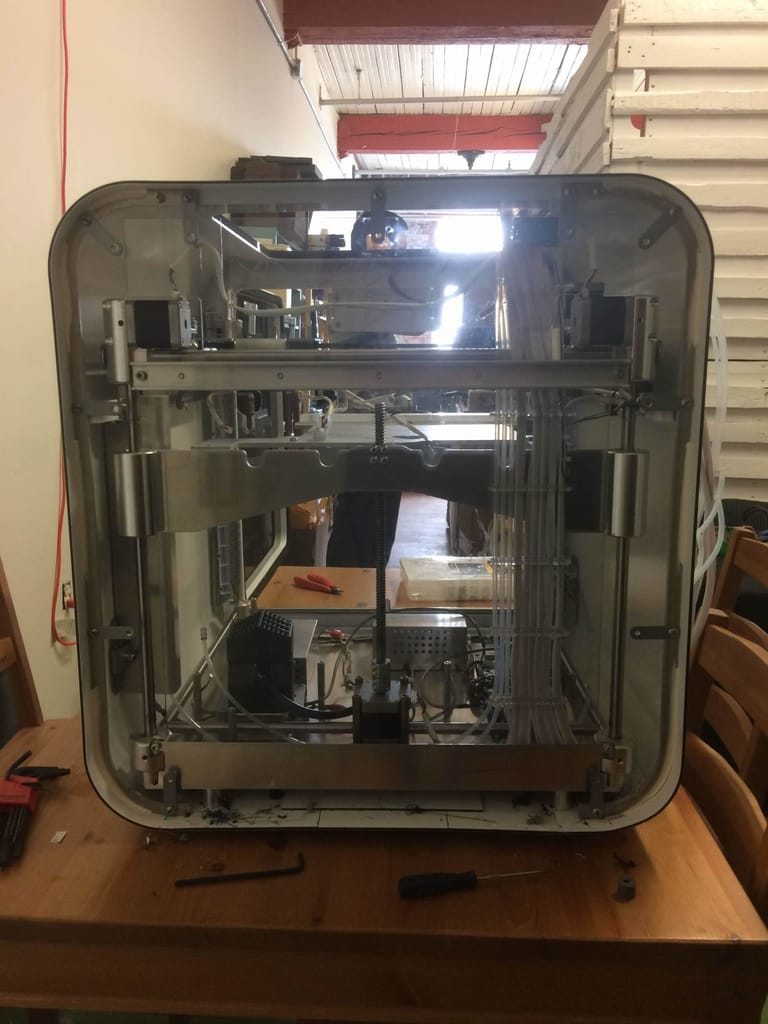
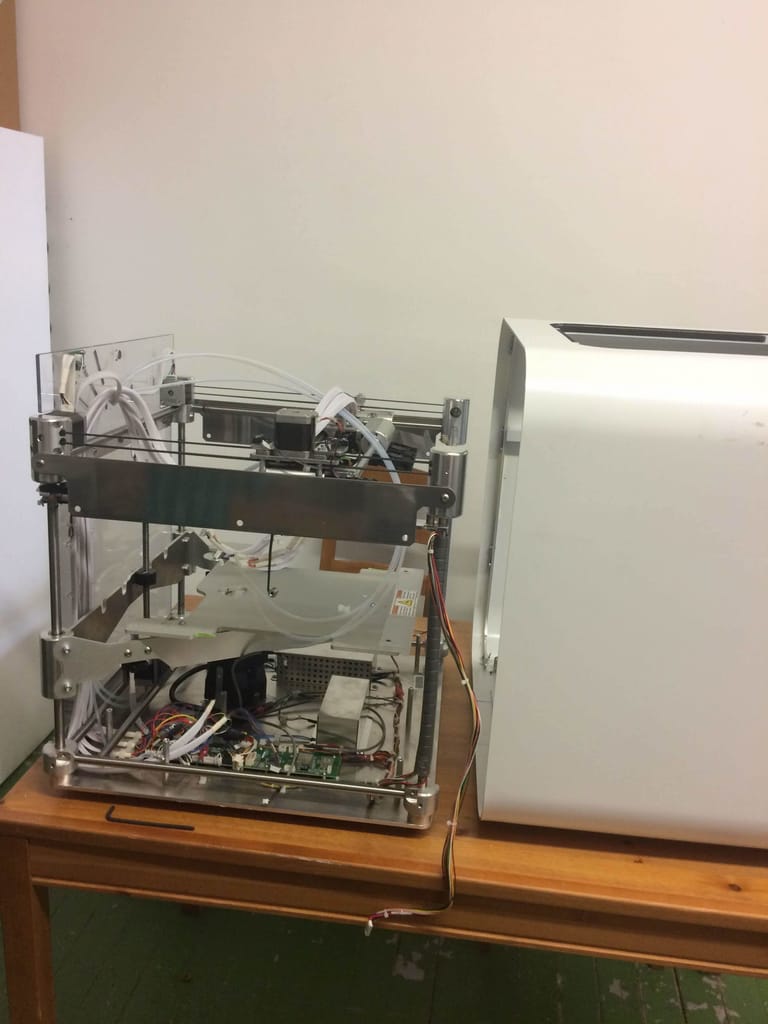
The CubePro design looks fabulous, and it’s great to work with. The solid metal frame is hidden inside the beautiful aluminium composite panels. One panel from the top can be removed as a quick access to the extrusion system. As you can see, the filament goes through the cable chain. It looks very professional compared to the traditional tube hanging free in air.
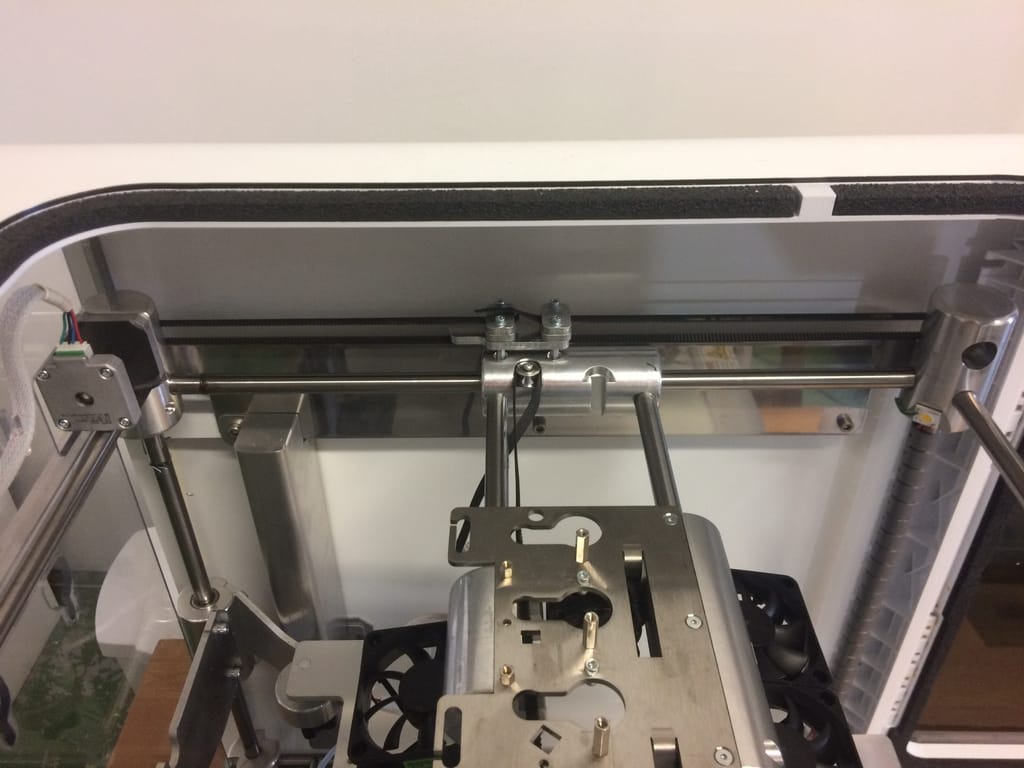
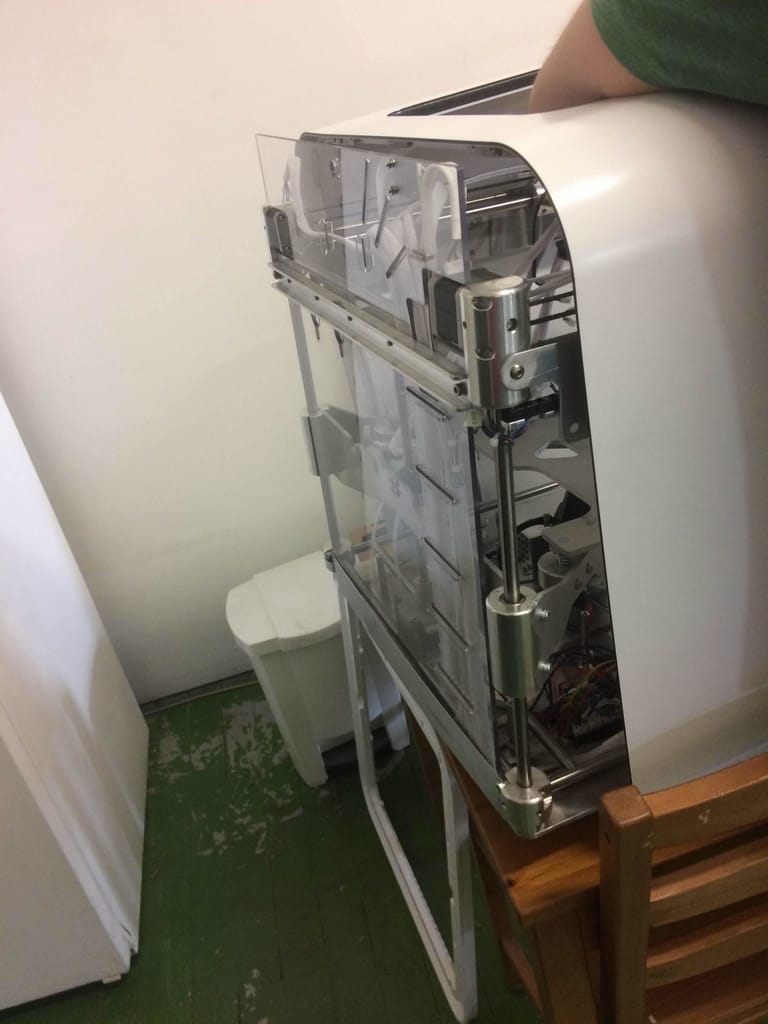
You can see that the frame is mostly made from cylindrical parts. It’s a very good design choice, as a lathe is usually a lot cheaper by the hour than a mill. Most CNC lathe with a live tooling attached can do just about anything.
The base plate is a solid 3/16 in an aluminum plate. It holds both the frame and the electronics in place inside the case. There is a plastic plate over the electronics to keep everything clean.
The rest of the printer is very common. Belts, ball linear guides, etc. One very interesting point is that there are no printed parts. It will allow us to increase the inside temperature without worrying about softening and weakening the frame. Many printers have printed frame parts. They are very good for lowering the costs but aren’t the best option for a high-temperature setup. Remember that even if your frame is made from a high-temperature plastic such as peek, it’s rigidity module is still way lower than any metal.
By default, this printer has no heated bed platform. ABS being one of the 3 available materials, any experienced user might get skeptical, as the suggested bed temperature is around 100°C.
However, this printer is equipped with a heated bed chamber. This will help with warping, but probably not as much as a heated bed.
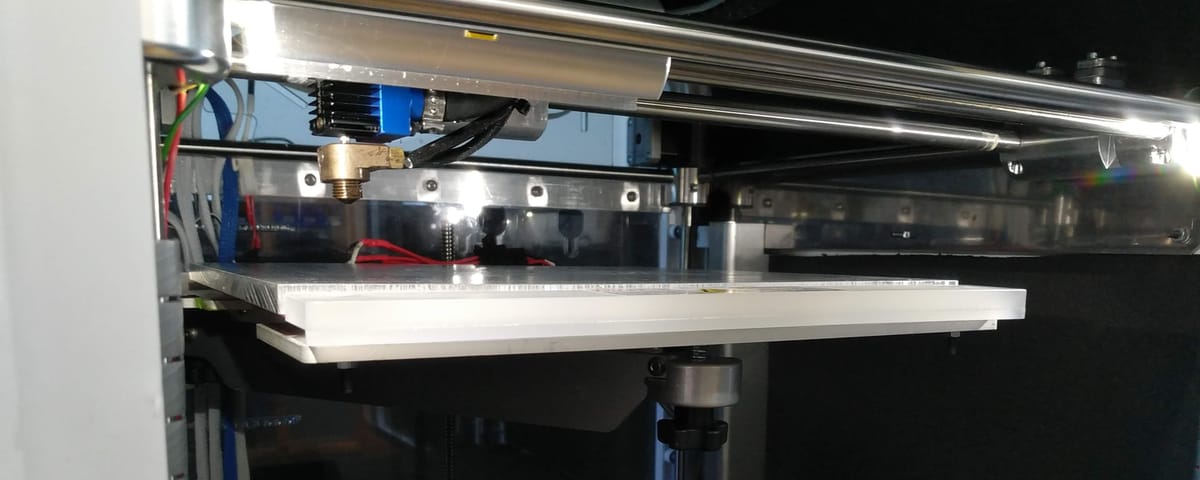
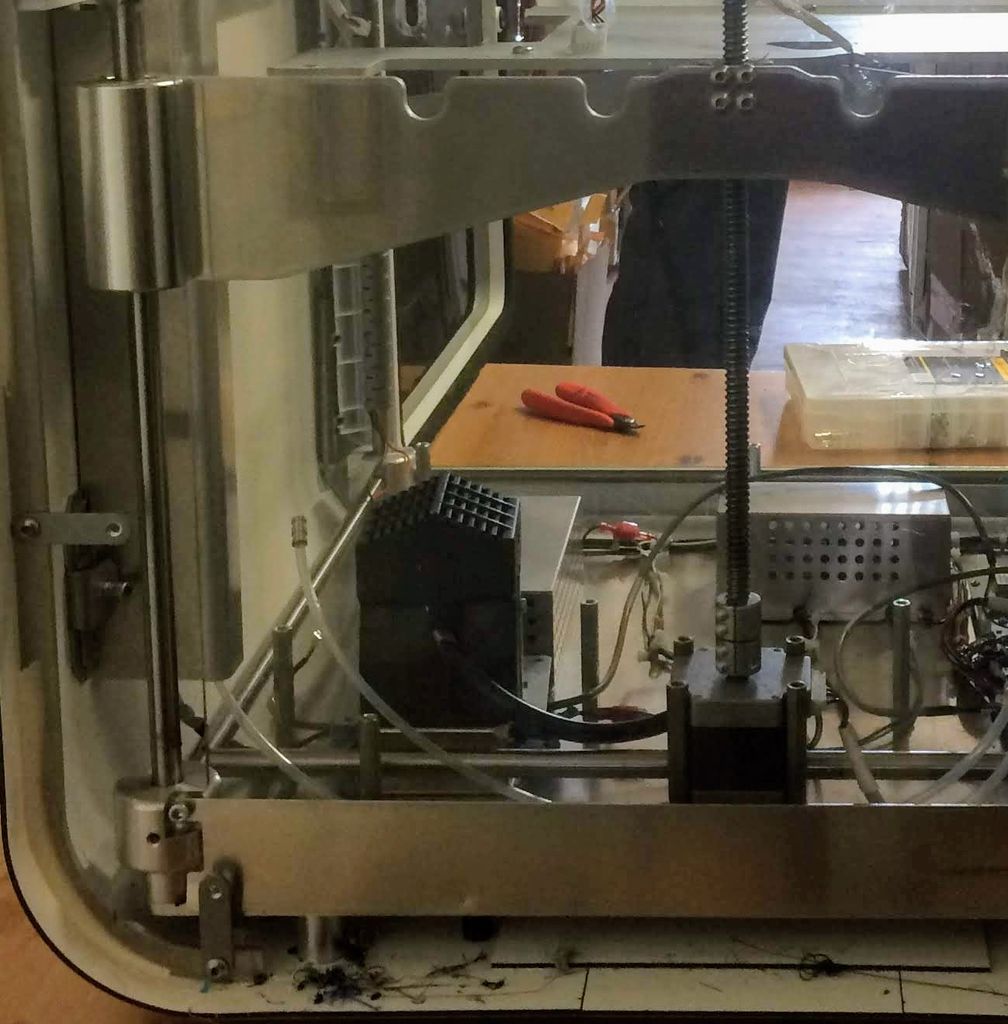
The bed is a removable thick glass with a white plastic sheet on top. The removing mechanism is easy to work with and looks very strong. The Z axis frame is made from thick sheet metal (we could call it plate) and well designed.
The electronics, interface and software are omitted in this blog for two reasons. First, the machine wasn’t working, so there was no point in evaluating them. Second, everything will be completely replaced as we don’t want to keep the closed source system for this printer.
List of items required
| Extrusion system | Price |
|---|---|
| DyzeXtruder GT | $150.00 |
| DyzEnd-X | $100.00 |
| Watercooling system | Price |
| DyzEnd liquid cooling block | $35.00 |
| DyzeXtruder liquid cooling block | $40.00 |
| Radiator | $50.00 |
| Pump | $20.00 |
| Reservoir | $25.00 |
| Tubing | $10.00 |
| Electronics | Price |
| Mainboard | $170.00 |
| 24-12 DC-DC converter | $20.00 |
| Wire | $10.00 |
| Heated bed | Price |
| Aluminum tooling plate | $30.00 |
| Silicon heating pad | $50.00 |
| Magnets | $5.00 |
| High-temperature connectors | $20.00 |
| Case | Price |
| High temperature insulating foam | $50.00 |
| High temperatures double sided tape | $10.00 |
| Total | $795.00 |
Beside is a list of the items we needed for our conversion. They are categorized so you can choose which is best for you. In our case, we are looking for the following features:
- 500°C hotend
- 150°C heated build platform
- 70°C environment
- Liquid cooled
- Compatibility with any filaments
The total is around 795$.
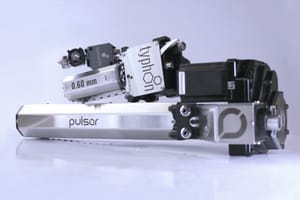
For our CubePro conversion, we decided to use our own products, which allows us to achieve the performances we’re looking for. Each component will be later described in a general form so you can evaluate easily whether or not you need them for your application. Highlighted in blue are products you’re able to find from our stores. We’ll provide links to other components at the end of the blog.
CubePro teardown and analysis
The teardown was quite straightforward as modern 3D printers are generally simple. A few steps required two people since some parts were quite heavy.
Extrusion system
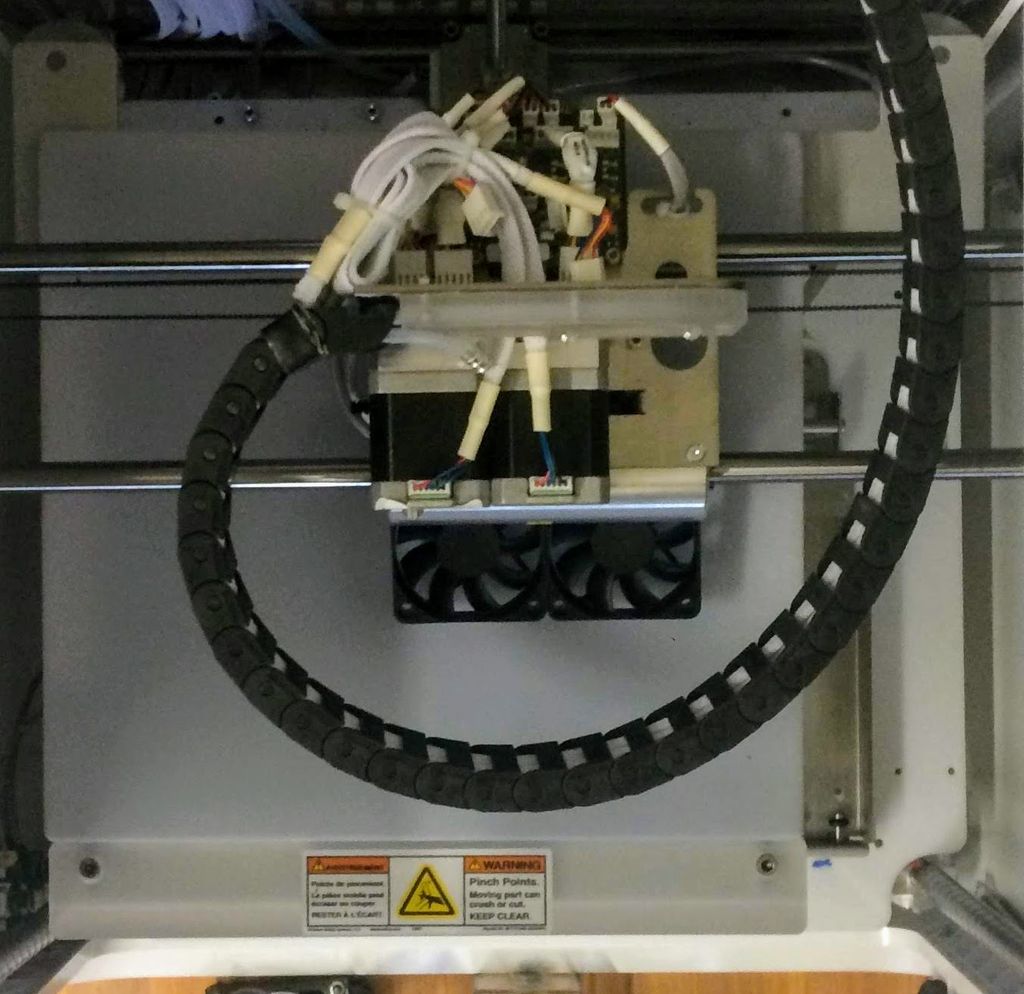
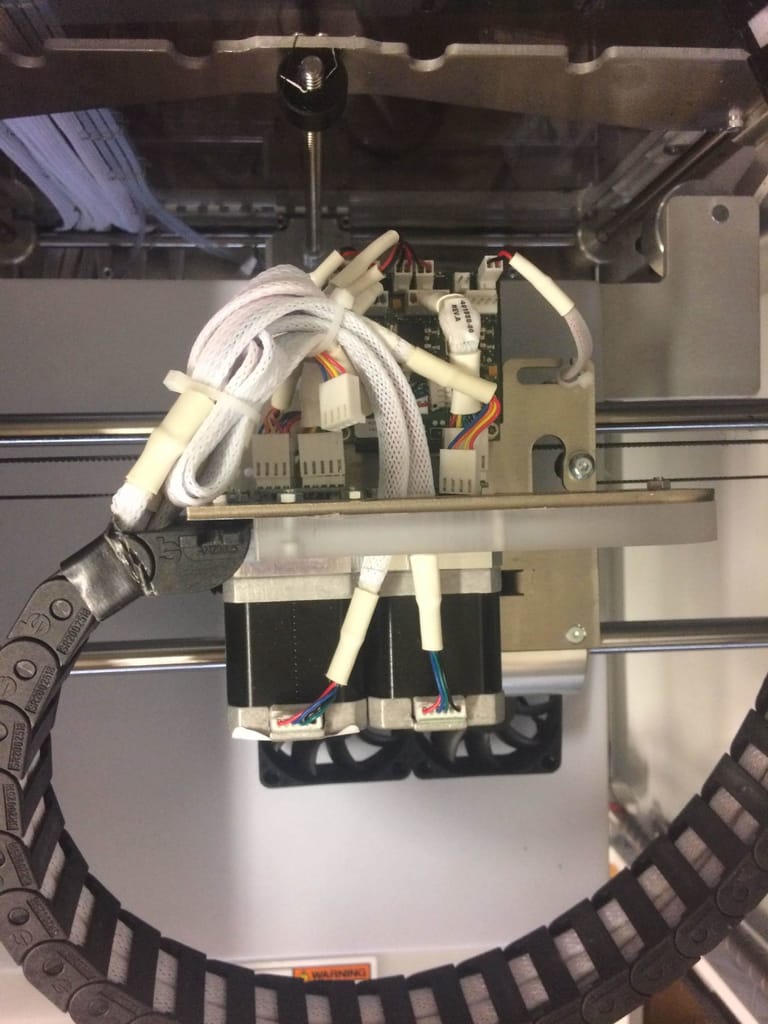
The first step is to completely remove the extruder. There are many wires going through the cable chain. We’ll be replacing them later with our own cables which have connectors.
The two extruders nicely sit one after the other. A third space is designed to accept the CubePro Trio extruder. Side note: having a single carriage design for 3 printer versions is a great idea.
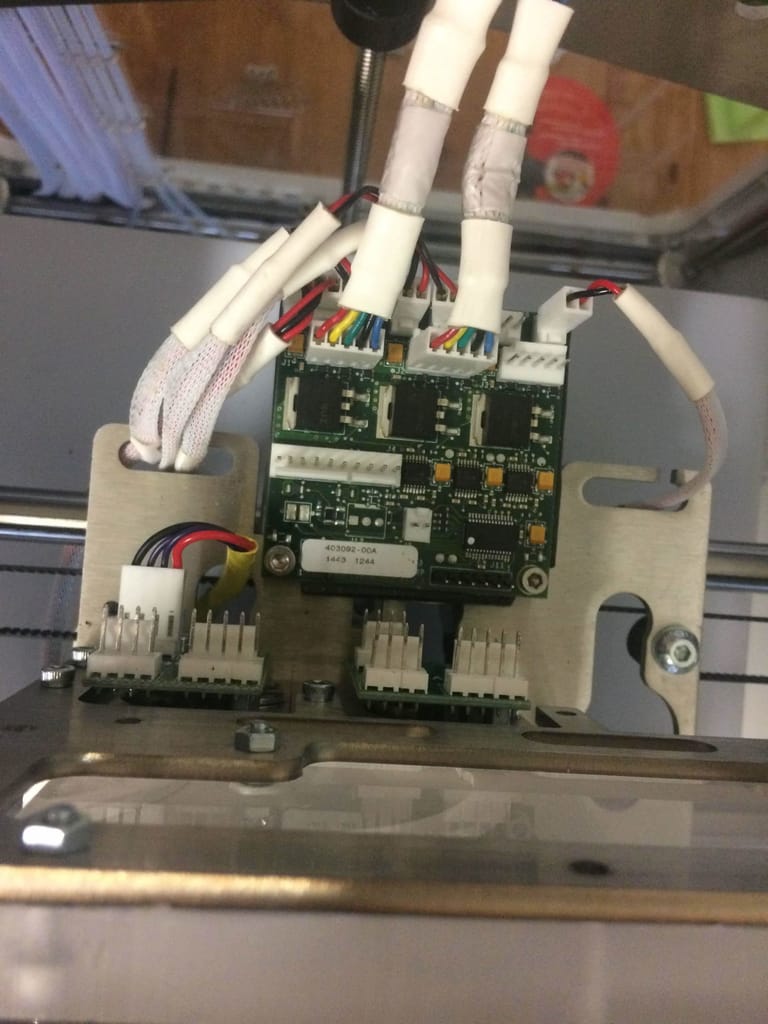
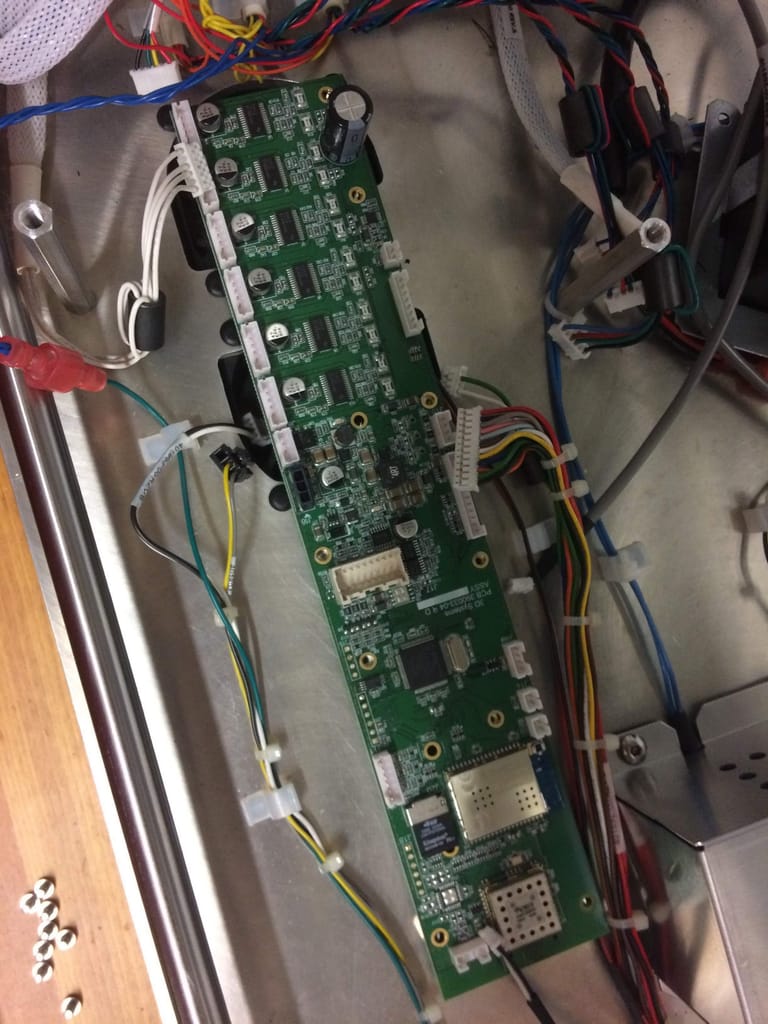
There are 3 PCBs for our CubePro Duo, one main PCB, and one per extruder. The biggest board has quite a lot of integrated circuits. The big mosfets are probably designed to manage the power for the 3 heating elements. The board has tantalum and a ceramic capacitor, much less prone to break under high temperature compared to aluminum electrolytic. This is a good (and required) design choice when circuits are under a heated environment.
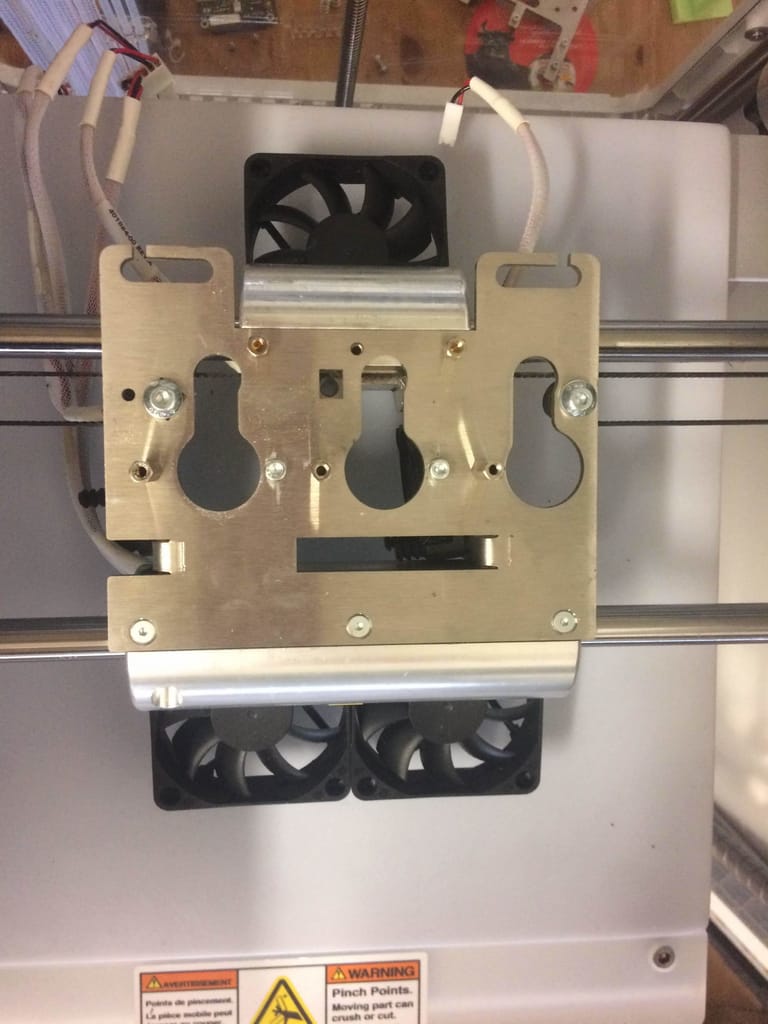
Once the extruders, hotends, and PCBs are removed, you have access to the carriage. The design is quite simple: one large cylinder with ball bearings, a smaller one, and a plate linking everything together. Sadly, the small holes are positioned in such a way that we won’t be able to use them for our system.
One possible solution would be to machine it to our requirements. However, we preferred to design our own plate to get an optimal solution. Sheet metal is very affordable, even in single quantity. We’ll also be able to keep our “no printed part” requirement for high-temperature environment.
Framing
The back panel can be removed very easily, giving access to the multiple screws holding the back plastic cap. This cap helps to hold the internal frame in place, and also acts as a heat barrier when heating the inside. The front has the same panel which must be removed.
As mentioned before, the main frame is held within the shell. There are few screws on the base plate that still hold them together. Once these are removed, the frame can be slid from the back. This operation can be tricky alone, make sure you’ve got help to avoid any damage to you and the printer.
Electronics
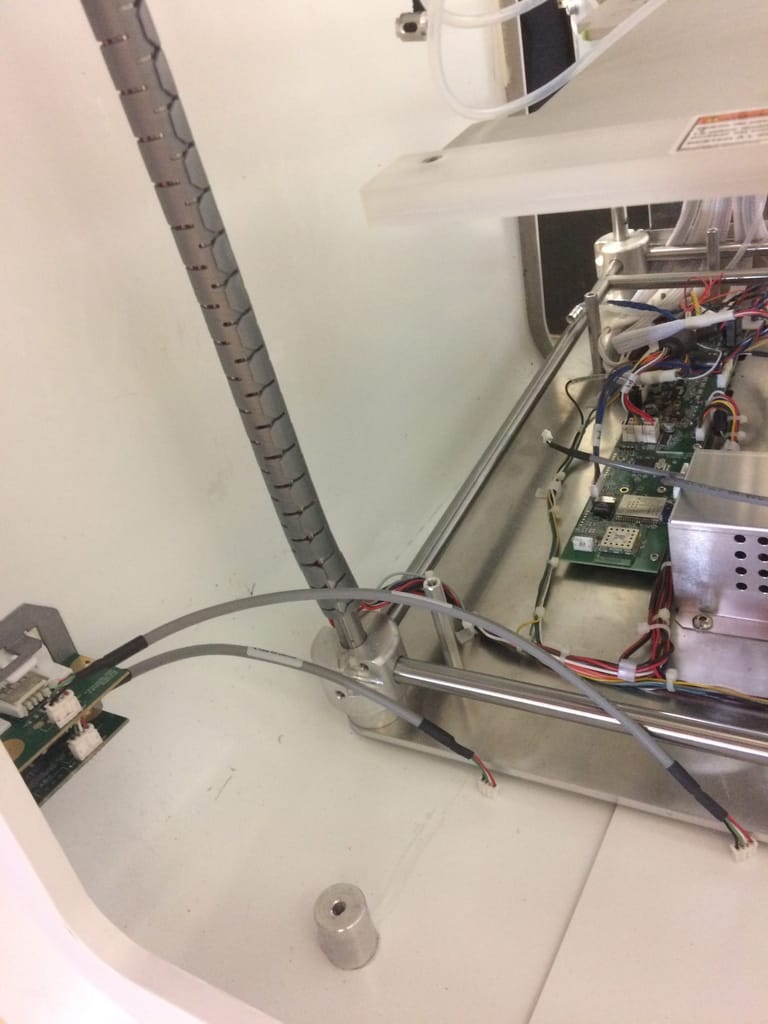
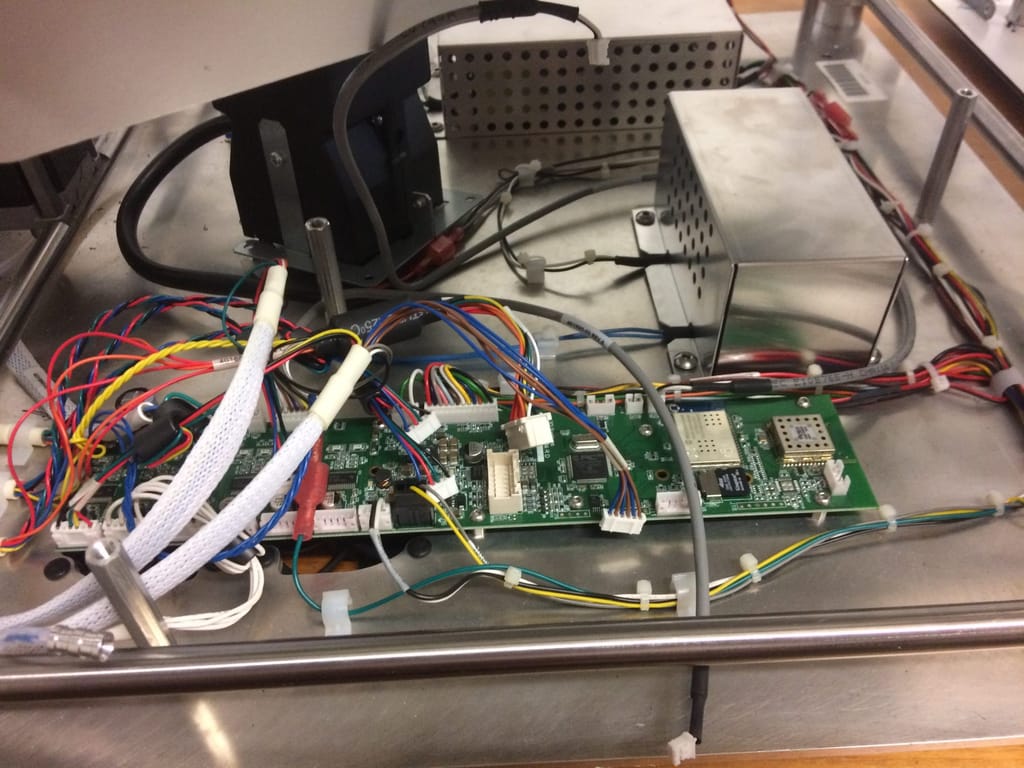
The base plate holds the electronics. There are 5 distinct elements:
- Noise reduction input
- 24V DC Power Supply
- Relay board
- Main Board
- Heater
We’ll be keeping everything, except the main board. Someone with a lot of time could probably be able to hack it and push a new firmware as it looks a lot like the compatible open-source boards, but this is not the point of this project.
All the wires connecting from the main board can be reused or changed. It’s up to the user, as they are beautifully braided and already routed. Some connectors would need some pin swapping, but this can be done very easily.
In the next part of this blog series, we will dive directly into how we rebuilt and assembled our custom Cube Pro. We will explain how we designed the carriage, how we refactored the electronics, the heated bed, and the controlled environment.

